Fixing Burr Formation in Sheet Metal Stamping Parts
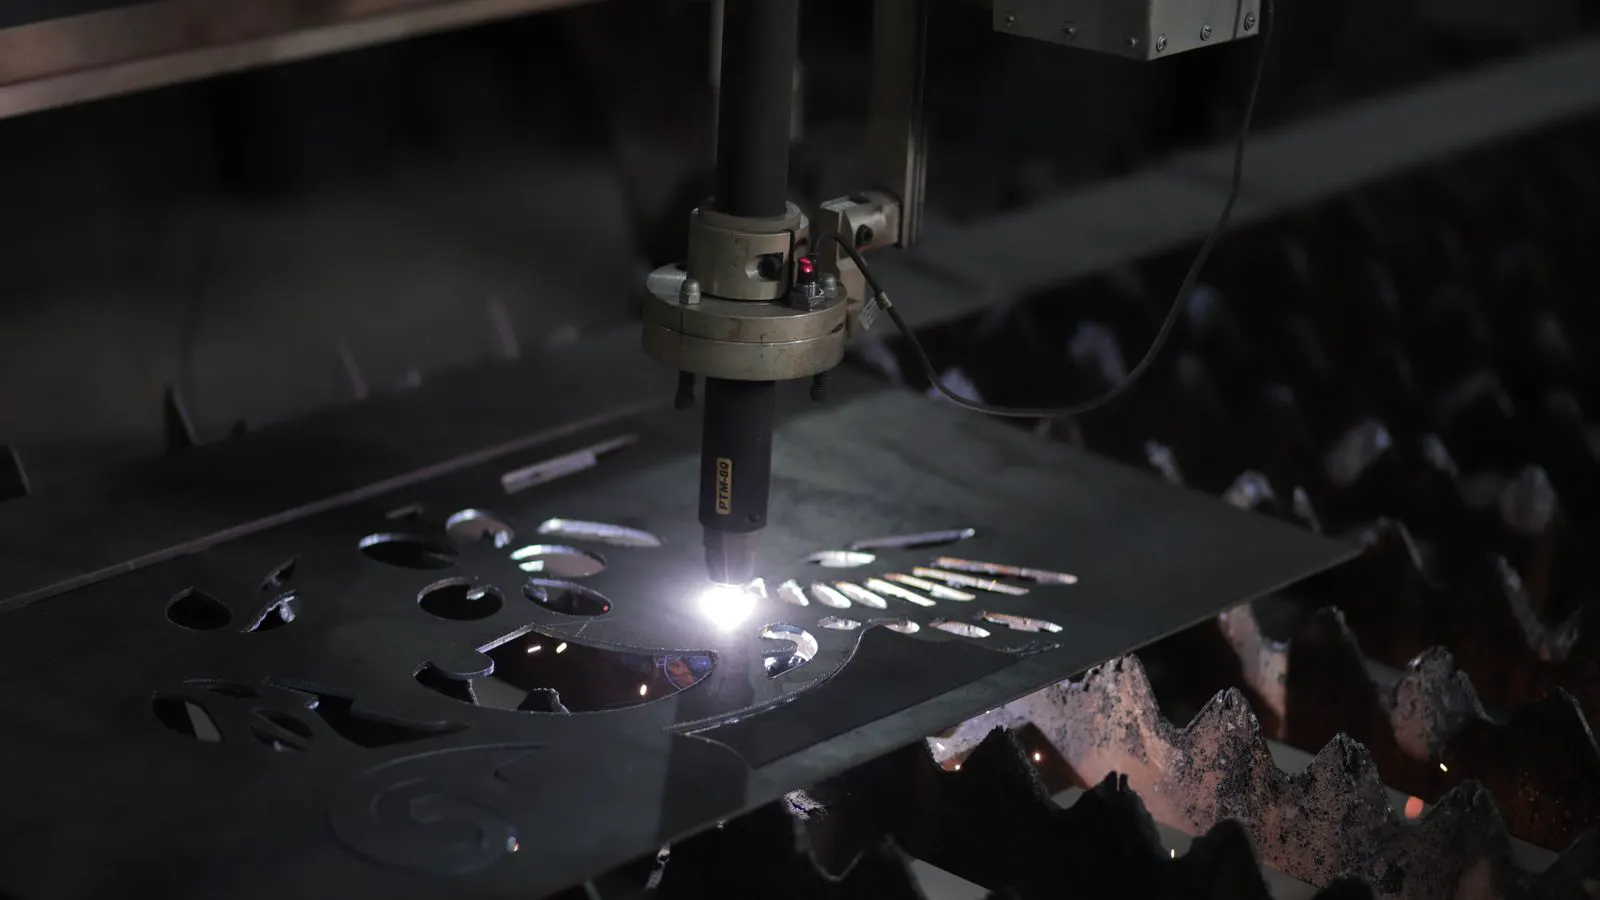
Stamping burrs are sharp, unwanted metal edges created by improper clearance, dull tools, or material issues. You can eliminate them by adjusting die clearance, sharpening blades, and implementing strict tooling maintenance and defect prevention protocols.
- Stamping burrs are a primary cause of fit problems and safety hazards in stamped components.
- The most common root causes include excessive die clearance, dull tooling, and material inconsistencies.
- Regular tooling maintenance and precise die adjustments are the most effective ways to prevent burrs.
- Implementing a defect prevention strategy at the tooling stage reduces rework significantly.
- Visual and tactile inspection methods are critical for catching burrs before they reach assembly.
Why Stamping Burrs Matter for Final Quality
Stamping burrs are small, sharp protrusions of metal that form when a blade does not cleanly sever a sheet. While they may appear minor, these defects create immediate problems. They catch on other components, cause abrasion in moving parts, and can pose a safety risk to end users. For buyers and engineers, uncontrolled burrs are a direct signal of process instability.
A single burr can fail a fit test, reject a batch, or lead to a field failure. Understanding how these defects form and how to stop them is essential for maintaining consistent output.
How to Identify Stamping Burrs in Production
Identifying burrs early is the first step toward elimination. Because burrs can be microscopic or subtle, relying on a single inspection method is often insufficient. A multi-sensory approach ensures that defects are caught consistently.
- Visual Inspection: Look for a raised, rough edge on the cut side. Under magnification, the burr will appear as a thin layer of metal extending beyond the nominal dimension.
- Tactile Inspection: Run a fingernail or a soft cloth across the cut edge. A burr will create a distinct catching sensation.
- Functional Check: Attempt to fit the part into its mating component. Burrs often prevent a smooth slide or cause a “click” that indicates interference.
Common Symptoms and Their Causes
Burr formation is rarely a single-factor event. It is usually the result of an interaction between tooling geometry, material properties, and machine settings. The table below outlines the most frequent symptoms, their likely causes, and the corresponding fixes.
| Symptom | Likely cause | What to do |
|---|---|---|
| Large, raised burr on the punch side | Die clearance set too high | Reduce die clearance to manufacturer specifications |
| Burr only on one side of the part | Uneven tooling wear or die misalignment | Check for die shift; re-align and balance the tooling |
| Fine, fuzzy edges with no sharp burr | Dull blade or inappropriate material grade | Sharpen blades; adjust tool material hardness to match sheet |
| Burrs increasing over time | Progressive tool wear | Implement a scheduled sharpening and inspection routine |
| Inconsistent burr size across the batch | Material thickness variation | Verify sheet gauge consistency; adjust press tonnage |
Adjusting Die Clearance for Clean Cuts
Die clearance is the space between the punch and the die. When this gap is too wide, the metal is pulled rather than sheared, leading to significant burr formation. When it is too narrow, the tool wears rapidly and may fracture.
For most standard carbon steels, the recommended clearance is often between 5% and 10% of the sheet thickness. Aluminum and stainless steels may require different ranges. Always refer to the tooling manufacturer’s guidelines. Adjusting clearance should be done in small increments, testing a sample part after each change to find the optimal setting.
Implementing a Tooling Maintenance Schedule
Even with perfect initial setup, burrs will appear if tooling degrades. A proactive tooling maintenance schedule is a core part of defect prevention.
- Daily Check: Visually inspect blades for nicks, chips, or wear before the first run.
- Weekly Inspection: Use a magnifier to check the cutting edge for micro-chipping.
- Scheduled Sharpening: Sharpen or replace blades based on the number of parts produced, not just calendar time.
- Lubrication: Ensure proper lubrication is applied to the sheet to reduce friction and heat during cutting.
Material and Machine Factors to Consider
Sometimes the problem lies outside the die itself. The material being stamped and the condition of the press can influence burr formation.
- Material Consistency: Variations in sheet thickness or hardness can change the required clearance. If you are using a new lot of material, always run a test piece to verify the cut quality.
- Machine Alignment: If the press ram is not perfectly parallel to the die table, the tooling may experience uneven pressure, causing one side to cut differently than the other.
- Spring Back: In high-strength materials, spring back can cause the part to shift in the die, altering the effective clearance during the cut.
Prevention Tips for Long-Term Quality
Preventing burrs is more cost-effective than removing them after the fact. Integrating these practices into your workflow will reduce scrap rates and improve process stability.
- Standardize Die Settings: Document the optimal clearance and tonnage for each part. This prevents variability between shifts or operators.
- Use Tooling with Hardened Edges: For high-volume production, ensure the punch and die are made from hardened tool steel to resist wear.
- Control the Supply Chain: Work with material suppliers to ensure consistent gauge and hardness.
- Train Inspectors: Ensure that quality control personnel are trained to recognize early signs of burr formation and tool wear.
When to Consider Tooling Redesign
If burrs persist despite clearance adjustments and maintenance, the tooling design itself may be the issue. For complex parts with intricate contours, a standard straight blade may not be suitable.
In these cases, consider redesigning the tool with a slightly larger punch angle or a different blade geometry. This can help guide the metal cleanly through the die. It is worth noting that a well-designed tool can reduce the need for post-stamping deburring operations, saving significant labor costs.
Frequently asked questions
What is the ideal die clearance for stamping burrs prevention?
There is no single universal ideal, as it depends on the material. Generally, a clearance of 5% to 10% of the sheet thickness is a good starting point for carbon steel. You should always follow your tooling manufacturer's specific recommendations.
Can a burr be fixed after the part is stamped?
Yes, burrs can be removed through deburring, filing, or grinding. However, this is a corrective measure that adds cost and time. It is always more efficient to prevent the burr from forming in the first place.
Do different materials create different types of burrs?
Yes. Soft metals like aluminum may create a larger, smoother burr, while hard metals like stainless steel may create a smaller, more jagged one. The material's hardness and ductility directly impact the cutting process.
How often should I inspect my stamping tooling for wear?
You should perform a visual inspection every shift before production. A detailed inspection with a magnifier should be done weekly, and blades should be sharpened or replaced based on a defined production count or schedule.