Troubleshooting: Reducing Gapping and Misalignment in Stamping
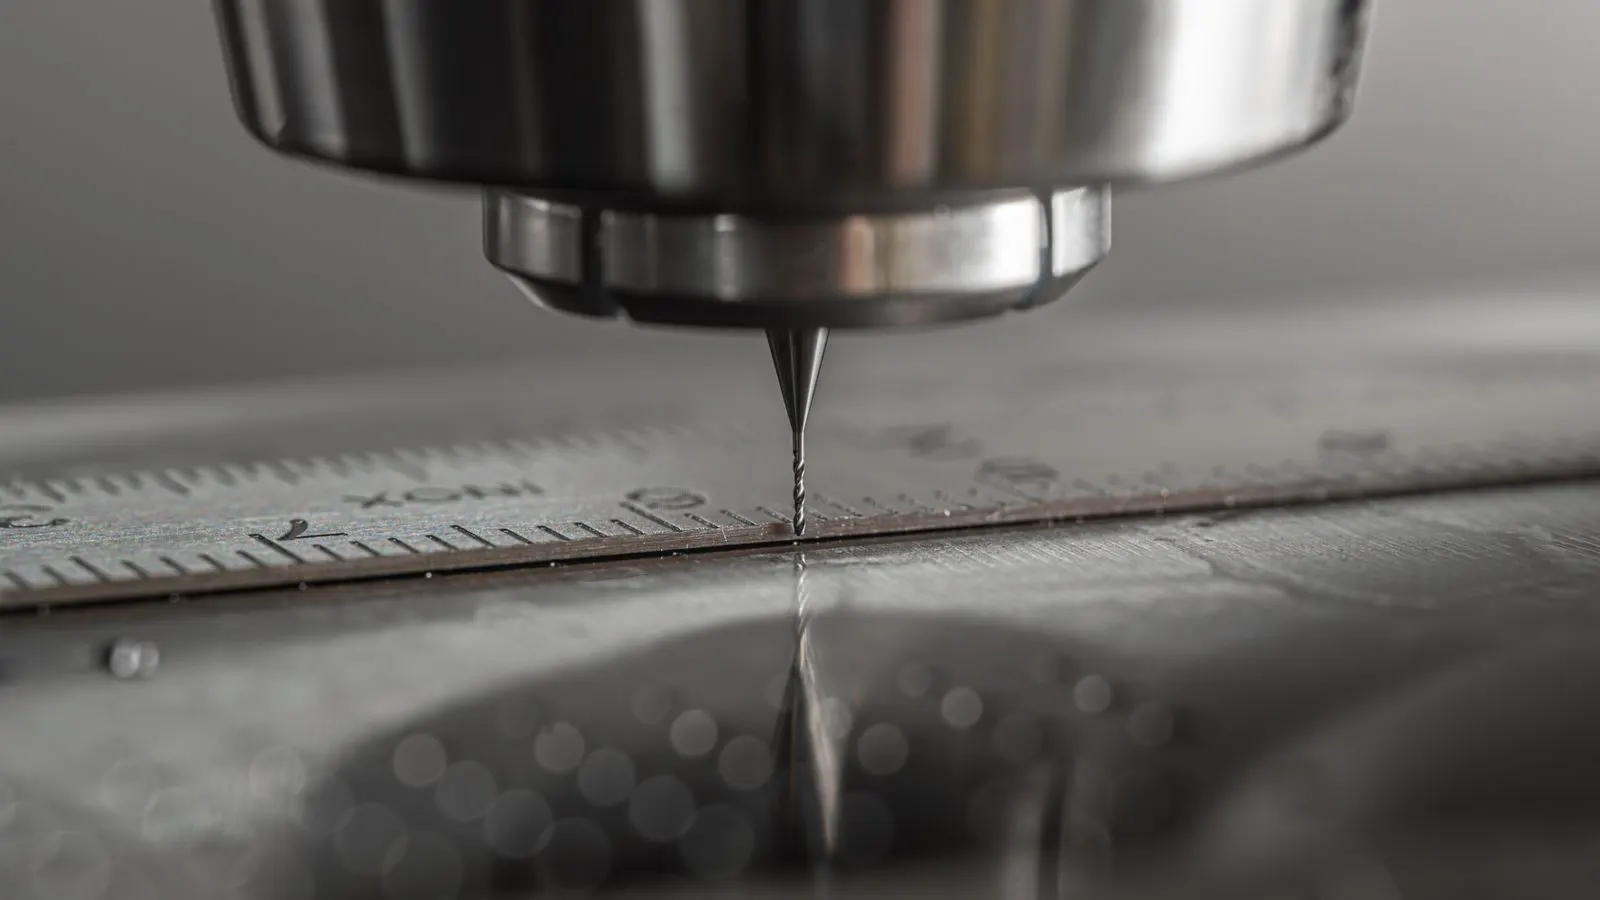
Stamping misalignment causes gapping and dimensional errors. This guide covers symptoms, die alignment checks, and practical fixes to prevent defects during stamping production runs.
- Stamping misalignment and gapping usually point to worn die parts, incorrect tooling setup, or material inconsistency.
- Verify die alignment early in a production run to catch problems before they damage multiple parts.
- Use visual checks and measurement data to confirm gapping is within tolerance before releasing parts.
- Implement a standard die inspection routine to reduce repeat defects and rework.
- Document adjustments and part measurements to support root cause analysis when problems occur.
What symptoms indicate stamping misalignment
Stamping misalignment shows up quickly on the press floor. Parts that were good yesterday can start gapping, twisting, or measuring out of tolerance after a small change in material thickness or die wear.
Common symptoms include uneven part height, visible gaps at the flange, bent or skewed features, and inconsistent hole positions. These defects can be subtle at first, but they grow into larger quality issues if the operator does not stop and inspect the tooling.
When gapping appears, the part may still look acceptable to the eye. A buyer or engineer should measure the gap, not just inspect it visually. The gap is often a sign of deeper tooling or material issues that need correction before the next batch.
In a deep draw operation, a small misalignment at the top of the cup can result in a wrinkled side wall and a poor fit into the next assembly stage. In a blanking operation, the same misalignment might not be visible on the blank itself, but the punch may strike the die at an angle, creating a burr that will not meet the drawing tolerance for the mating hole.
Skew is another frequent sign. If a part with two parallel flanges comes off the die with the flanges at an angle to each other, the tooling is not closing straight. This often happens when the die is not square to the press frame or when the material feed is pulling the sheet diagonally into the tool.
Inconsistent hole positions are harder to spot without a fixture. A part with three or four holes may look fine on the bench, but when placed on a vise or a checking jig, one hole may sit off by a fraction of a millimeter from the expected location. This indicates that the punch and die are not aligned along the same centerline.
Operators should be trained to look for these patterns. A shift change is a common time for these issues to become apparent because the previous operator may have made a minor adjustment, or the material lot may have changed. A quick check of the first few pieces after a changeover can prevent a large batch of off-spec parts from being produced.
Why die alignment fails during stamping
Die alignment problems usually come from one of four sources. The tooling itself may be worn, damaged, or out of spec. The press bed may not be level. The operator may not have set the die square to the press frame. Or the material may be inconsistent in thickness or straightness.
Worn punch and die pairs are the most common cause. Over time, the punch face becomes uneven, or the die opening narrows. This creates a gap between the punch and the die during the strike. The gap can be small, but it causes part distortion and inconsistent features.
Another common issue is a loose die plate. If the plate is not seated correctly, the die can shift a fraction of a millimeter during operation. That shift is enough to create misalignment in the stamped part.
Material variation also plays a role. If the sheet is thicker than expected, or if it has a bend in the feed, the stamping force changes. The tooling may not close properly, leading to gapping and partial strikes.
Consider a progressive die that performs a pierce and a trim in one station. If the material thickness varies by a few thousandths of an inch between coils, the punch in the trim station may not fully penetrate the material. This leaves a small gap between the punch and the die, and the trimmed edge may not be square. The operator might not notice this on the first few pieces, but after a few hundred parts, the gap becomes visible and the edge quality drops.
Press bed level is another factor that is often overlooked. Presses are usually installed on concrete pads that can settle over time. If the bed tilts even slightly, the die will not sit evenly on the bed. This causes the punch to enter the die at an angle, creating a consistent gap on one side of the part.
Die squareness is critical for any multi-station die. If the die is rotated by a small angle on the bed, the first station may work correctly, but the subsequent stations will be off-center. This results in parts where the features are not aligned with the part centerline. This is particularly problematic for parts with multiple holes or flanges, where even a small rotation leads to a measurable deviation in the final dimensions.
How to check and correct stamping misalignment
Start with a visual check of the die. Remove the die and inspect the punch, die, and plate surfaces. Look for burrs, dents, or uneven wear. If the punch is rounded or the die opening is out of shape, the gap will be hard to fix with adjustment alone.
Next, check the press bed. A level bed is basic, but even a small tilt can cause the die to sit unevenly. Use a dial indicator or a precision level to confirm the bed is flat. If the bed is out, the press needs maintenance before stamping resumes.
Then, verify the die setup. The die should be square to the press frame. If the die is rotated even a small angle, the part will skew. This is especially noticeable in parts with multiple holes or flanges.
After setup, run a test piece. Measure the part against the drawing. If the gap or misalignment is within tolerance, the die is ready. If not, stop and correct the issue. Do not continue stamping while the part is out of spec.
When inspecting the punch and die, look for specific wear patterns. A uniform wear pattern across the punch face is normal. However, a high spot or a low spot indicates that the punch is not seating correctly. This can be caused by a burr in the die opening or a dent in the punch face. These defects must be removed by grinding or reworking the tooling, not by adjusting the press.
Checking the press bed requires a precise tool. A simple level may not be accurate enough for a stamping press. A dial indicator attached to the bed can measure the variation across the bed surface. If the bed is out of level, the press manufacturer or a qualified maintenance team should adjust the bed anchors or the foundation. This is not a task for the stamping operator.
Verifying die squareness involves checking the position of the die relative to the press frame. Most presses have reference marks or slots that indicate the correct position. The die should be positioned so that the center of the tool aligns with the center of the press frame. If the die is off-center, the punch will not strike the die at a 90 degree angle, leading to skew in the stamped part.
When running a test piece, it is important to measure the part under controlled conditions. Use a calibrated measuring tool and measure the part at the same location each time. This ensures that the data is consistent and comparable to the drawing tolerance. If the part is within tolerance, the die is ready for production. If not, the operator should stop and investigate the cause before continuing.
Troubleshooting table for common gapping and misalignment issues
The table below lists common symptoms, likely causes, and practical fixes for stamping misalignment and gapping. Use it as a quick reference when a problem appears on the line.
| Symptom | Likely cause | What to do |
|---|---|---|
| Consistent gapping on one side of the part | Worn punch or die, loose die plate | Inspect and replace worn tooling. Tighten or reseat the die plate. |
| Gapping that changes during a production run | Material thickness variation, die wear over time | Check material lot. Measure part gap at regular intervals. |
| Skewed or twisted stamped part | Die not square to press frame, bent punch | Check die orientation. Replace bent punch. |
| Uneven part height after stamping | Press bed not level, uneven die seating | Level the press bed. Confirm die is seated evenly. |
| Gapping only after a die change | Incorrect tooling setup, wrong die used | Verify correct die is installed. Check setup checklist. |
| Gapping increases as the run continues | Punch wear, die opening wear, material inconsistency | Monitor gap measurements. Replace tooling at a planned interval. |
Prevention tips for consistent stamping quality
Prevention is simpler than correction. A short inspection routine before and during production can catch gapping and misalignment before they become a quality issue.
First, use a standard setup checklist. The checklist should include die condition, press bed level, die squareness, and material lot verification. If the checklist is followed every shift, the chance of a setup error drops.
Second, measure gapping at regular intervals. Do not wait for a buyer to find the defect. A quick measurement of the gap or a key dimension can catch a problem early.
Third, track tooling life. If a punch or die is known to wear after a certain number of strikes, replace it on schedule. This is cheaper than rework or scrap after a batch fails.
Fourth, keep material consistent. If the supplier changes material thickness or lot, the stamping force changes. Confirm the material lot and thickness before starting a new run.
Finally, document everything. If a problem occurs, the records show what changed. This makes root cause analysis faster and helps prevent the same issue from happening again.
A standard setup checklist should be posted at the press and updated whenever the process changes. The checklist should be signed off by the operator at the start of each shift. This creates a record that the setup was verified and that the operator was aware of the requirements. It also serves as a training tool for new operators, as they can see the exact steps that are required to set up the die correctly.
Measuring gapping at regular intervals should be based on the criticality of the part. For high-volume parts with tight tolerances, the gap should be measured every few hundred pieces. For less critical parts, it may be sufficient to measure every shift. The key is to have a defined frequency and to record the results in the production log.
Tracking tooling life requires knowing when the tooling is likely to fail. This information is usually available from the tooling vendor or from past production data. If a punch is known to wear after 50,000 strikes, the operator should replace it at that interval, even if the part still looks acceptable. This prevents unexpected failures that can lead to scrap or press damage.
Keeping material consistent involves verifying the material lot and thickness before starting a new run. The material certificate should be checked for the thickness tolerance and the material grade. If the material is outside the specified tolerance, the run should be stopped and the issue resolved before stamping resumes.
Documenting everything means keeping a record of all changes, adjustments, and measurements. This includes the die number, the press number, the material lot, and the operator name. If a problem occurs, the records can be used to identify what changed and when. This makes it easier to identify the root cause and to implement a permanent fix.
When to call in the press or tooling vendor
Some stamping misalignment issues are not operator problems. If the die is new and the material is consistent, but the part still gaps, the press may need service.
A worn ram, a loose tie rod, or a worn guide bushing can cause the press to shift during the strike. This creates a small but repeatable misalignment. The operator cannot fix this with die adjustment alone.
In these cases, the press vendor or maintenance team should inspect the press. The goal is to find the mechanical issue and correct it. Continuing to stamp while the press is out of alignment will damage the tooling and produce more scrap.
A practical rule: if the problem appears after the die is new and the material is confirmed good, stop and check the press. Do not assume the operator made a setup error.
If the die is new and the material is consistent, but the part still has gapping, the operator should check the press for mechanical issues. This includes checking the ram, the tie rods, and the guide bushings. These components are subject to wear over time, and when they wear, they can cause the press to shift during the strike. This shift is usually very small, but it is enough to create a repeatable misalignment in the stamped part.
A worn ram may have a slight tilt, which causes the punch to enter the die at an angle. A loose tie rod can allow the ram to move slightly during the strike, leading to inconsistent part dimensions. A worn guide bushing can allow the ram to move laterally, causing the die to shift on the bed. These mechanical issues are not visible to the operator, but they can be identified by the press vendor or a qualified maintenance team.
When calling in the press vendor, provide them with the symptoms and the measurements. Include the part number, the die number, the material lot, and the frequency of the gapping. This information will help the vendor diagnose the issue quickly and provide the correct parts or service.
How to verify the fix before releasing parts
A fix is only good if the part holds after a full production run. Do not release parts based on one or two test pieces.
Run a small batch and measure the parts against the drawing. Check the gap, the height, and the hole positions. If the parts are within tolerance, the issue is resolved.
If the parts are still out of spec, stop and re-inspect. The cause may be deeper than expected. It could be a material issue, a press issue, or a tooling issue that was not fully corrected.
Keep the measurement data. If a buyer asks for verification, the data shows the part was checked and passed. This is a simple step that supports trust and reduces disputes.
After a fix has been made, it is important to verify that the fix is effective. This involves running a small batch of parts and measuring them against the drawing. The batch should be large enough to capture any variation that may occur during the run. For example, if the issue was a consistent gap on one side of the part, the measurement should include parts from the beginning, middle, and end of the batch.
If the parts are within tolerance, the issue is resolved, and the production can continue. If the parts are still out of spec, the operator should stop and re-inspect the tooling, the press, and the material. The cause may be deeper than expected, and it may require a more extensive investigation.
Keeping the measurement data is important for quality assurance. The data should include the part number, the die number, the press number, the material lot, and the date and time of the measurement. This data can be used to trace the parts back to a specific production run and to identify any trends or patterns that may indicate a recurring issue.
Final checklist for troubleshooting stamping misalignment
Use this checklist when gapping or misalignment appears. It covers the most common causes and the most practical fixes.
- Measure the part gap and key dimensions.
- Inspect the punch and die for wear or damage.
- Check the die plate seating and die squareness.
- Confirm the press bed is level.
- Verify material lot and thickness.
- Run a test batch and measure the parts.
- Document the findings and the fix.
If the parts pass after the fix, the issue is resolved. If not, stop and investigate further. Do not release parts until the problem is fully understood and corrected.
Frequently asked questions
What is the most common cause of gapping in stamping?
Worn punch and die pairs are the most common cause. The gap forms when the tooling wears unevenly or the die opening narrows.
Can material thickness variation cause stamping misalignment?
Yes. If the sheet is thicker than expected, the stamping force changes. This can prevent the die from closing properly and create gapping.
How often should I measure the part gap during production?
Measure at regular intervals, especially after a die change, a material lot change, or if the gap was found earlier in the run.
Is it safe to continue stamping if the part is slightly out of tolerance?
No. A small gap or misalignment can grow into larger defects. Stop and correct the issue before continuing.
What should I do if the die is new but the part still gaps?
Check the press. A worn ram, loose tie rod, or uneven press bed can cause misalignment even with a new die.