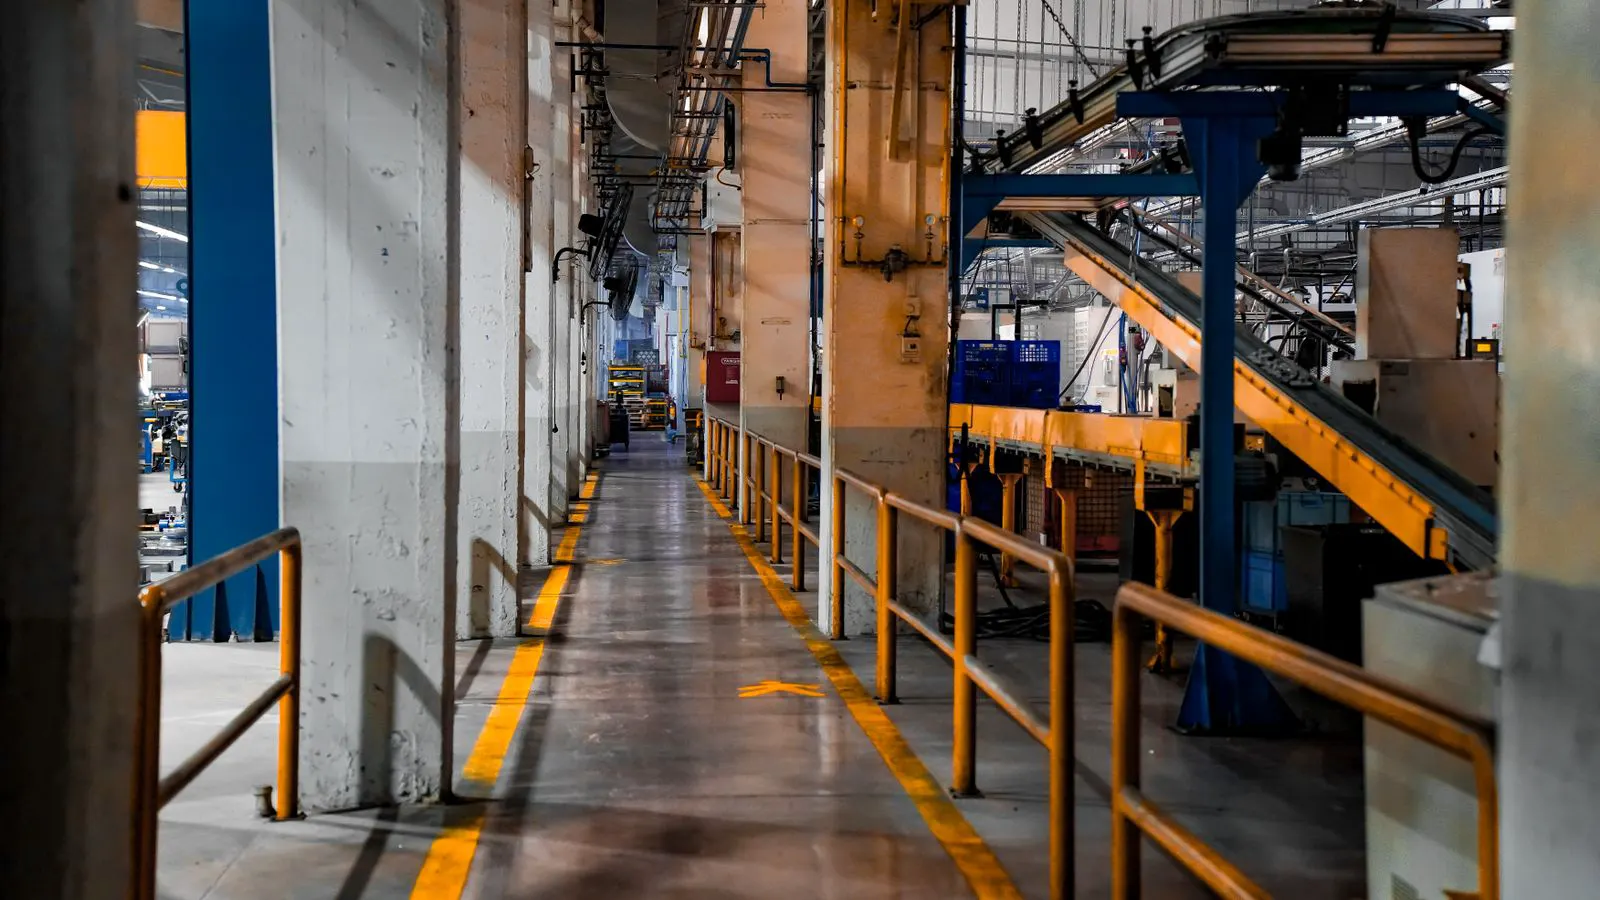
How to Audit a Stamping Supplier's Press Floor
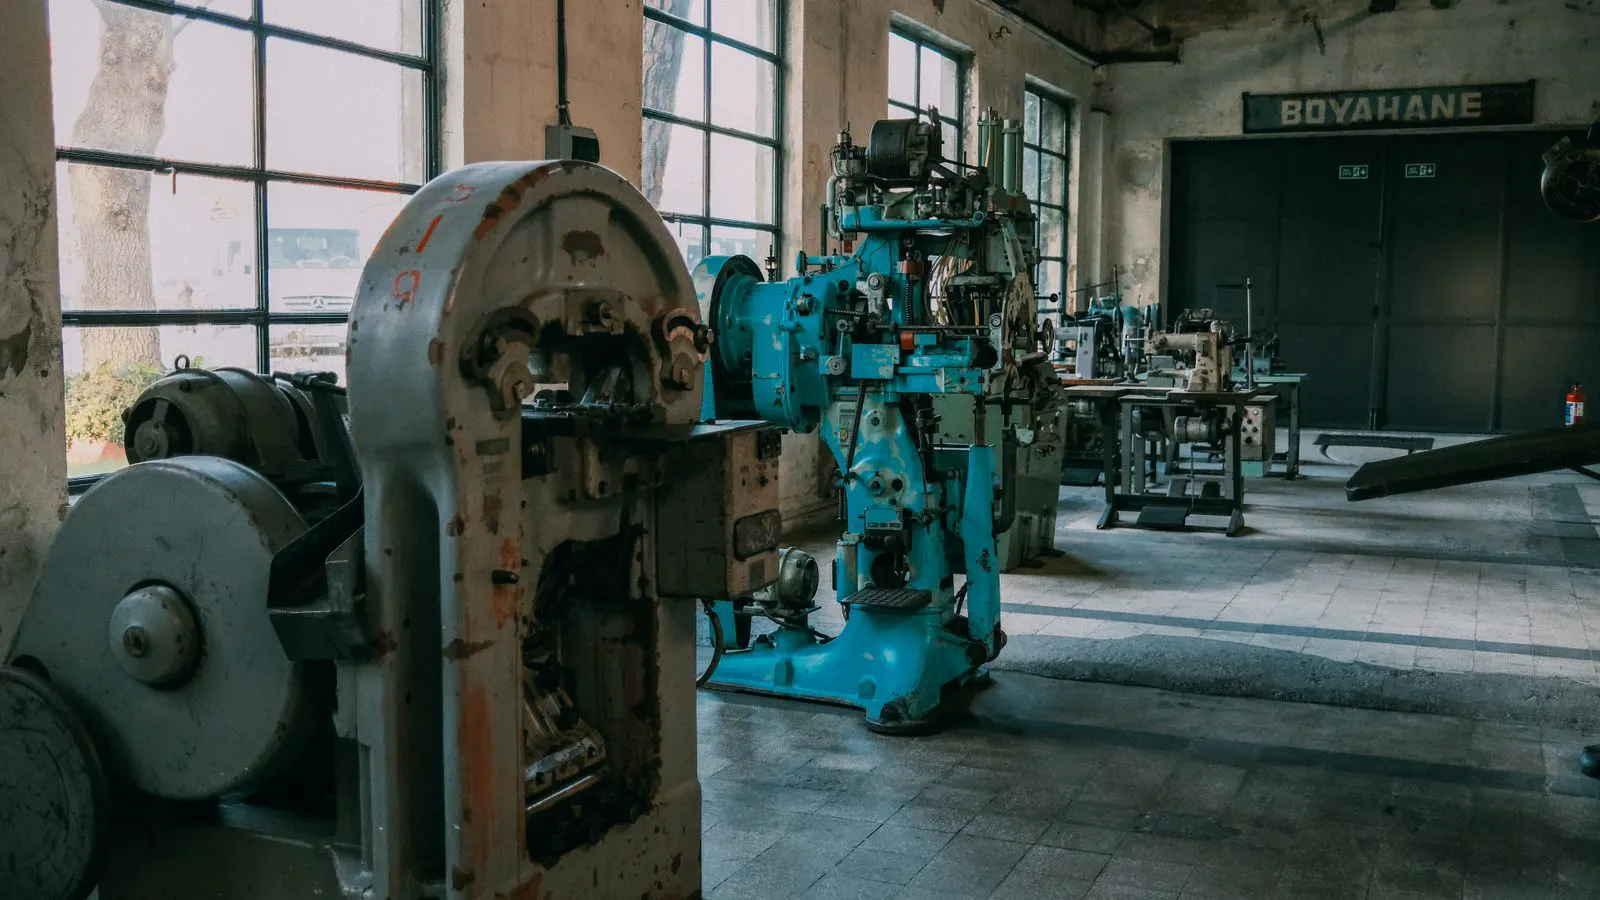
Engineers verify physical production capabilities by checking press capacity, tooling storage, quality controls, and traceability systems on site. This process reduces the risk of late deliveries and quality failures during high-volume stamping service procurement.
- Verify that press tonnage matches the part's forming requirements, not just the supplier's catalog claims.
- Check tooling storage conditions and inspection records to confirm the supplier maintains die integrity.
- Inspect in-process inspection points to ensure defects are caught early rather than at final sorting.
- Review traceability records to confirm the supplier can link finished parts to specific press runs and material lots.
Why a Press Floor Audit Matters Before Contracting
A contract with a stamping supplier is only as strong as the physical capability behind it. A supplier can promise tight tolerances and fast lead times, but those promises fail if the press floor lacks the right equipment, tooling storage, or inspection discipline. Engineers must verify these capabilities before signing.
A contract is a legal agreement, but production is a physical act. If the supplier’s press floor cannot handle the specific forming requirements of your part, the legal terms do not matter. You will face scrap, delays, and quality disputes. The audit process described below moves beyond marketing materials and focuses on the tangible reality of the production environment.
This guide outlines a practical audit process for evaluating a supplier’s physical production environment. The goal is to confirm that the supplier can reliably produce your stamped brackets, chassis components, or sheet metal parts without hidden risks. You are looking for evidence that the supplier understands the physics of your part and has the systems in place to control the process.
Prerequisites: What to Bring to the Audit
Bring the part drawings, material specifications, and target production volume. The audit team should include a process engineer, a quality engineer, and a procurement representative. Each person has a different focus.
The process engineer evaluates whether the press tonnage and stroke length match the part’s forming requirements. They look for signs of overloading, such as bent press frames or worn die cushions. The quality engineer checks measurement systems and in-process inspection methods. They verify that the supplier can measure what they claim to control. Procurement reviews capacity and scheduling practices. They assess whether the supplier can meet your volume without compromising other customers or their own quality standards.
Do not rely on the supplier’s presentation alone. Walk the floor. Look at the machines. Talk to the operators. The physical environment tells the truth that slideshows hide. A supplier may have a brochure that lists a 1,000-ton hydraulic press. The nameplate on the machine might say 800 tons. That discrepancy is a red flag. It suggests that the supplier may be overpromising or that the machine is older than the brochure implies.
Step 1: Verify Press Tonnage and Machine Condition
Check the nameplates on each press. Match the rated tonnage to the part’s forming load. A supplier may have a press that looks powerful on paper but is actually undersized for deep drawing or complex bending. For example, if your part requires a deep draw with a high aspect ratio, a press that is barely above the minimum tonnage will struggle. The ram may not reach the bottom of the die, or the tonnage may be exceeded at the bottom of the stroke, causing the machine to stop or the die to pop out.
Look at the machine condition. Check for oil leaks, worn guides, and worn tooling holders. A press that is heavily modified or patched may produce inconsistent results. Look for signs of vibration. If the die is not seated correctly in the press bed, the part will have a twist or an offset. Ask the operator to demonstrate a part cycle. Watch how the die engages the blank. Listen for grinding sounds or irregular movements.
The reason for this step is to confirm that the machine can physically produce the part without excessive stress. If the tonnage is too low, the die may not fully form the part, leading to thin spots or incomplete bends. If the tonnage is too high for a simple bend, the machine may be overkill, but it is usually safe. The danger is when the machine is undersized. It can damage the die, break the press frame, or produce parts that do not meet specifications.
Step 2: Inspect Tooling Storage and Maintenance
Walk the tooling room. Look at how dies are stored. Are they on racks with protective covers? Are they labeled with part numbers and last inspection dates? A well-managed tooling room is organized. The dies are clean, and the covers are intact. If the dies are stacked on the floor, they are likely to corrode or get damaged.
Check the maintenance logs for each die. The supplier should have a record of every adjustment, sharpening, and replacement. If the die is stored in a humid area or without covers, the tooling may corrode or collect debris. Corrosion on the punch or die surface causes scratches on the part surface. Debris in the die cavity causes burrs or incomplete forms.
The reason for this step is to confirm that the supplier protects its most expensive asset: the tooling. A damaged die produces scrap. A poorly maintained die produces inconsistent parts. Tooling is the heart of the stamping process. If the supplier does not care for its dies, it does not care about your parts. You are looking for a supplier who treats tooling with the same respect as a surgeon treats a scalpel.
Step 3: Check In-Process Inspection Points
Do not rely on final inspection only. Ask where the supplier checks parts during the press cycle. For a multi-station press, there should be checks after each forming stage. If the supplier only inspects the final part, they are relying on a single point of verification. This is risky. If a defect occurs at the first bend, it is there for the rest of the process. By the time the part leaves the press, the defect is built in.
Look for in-process gauges, vision systems, or manual gauges at key points. The operator should be able to show you how they measure a part after the first bend. If the supplier only inspects parts after they come off the press, defects may accumulate and become harder to detect. For example, if a bend angle is off by one degree, a vision system at the first station can catch it immediately. A final inspection might miss it if the part is within tolerance at the end, or it might take too long to identify the root cause.
The reason for this step is to ensure that problems are caught early. Catching a defect after the first bend is cheaper than catching it after the part has gone through five stations. Early detection allows for immediate adjustment. You can tweak the die, change the blank position, or adjust the bend tool. If you wait until the end, you may have to scrap hundreds of parts that have already been formed.
Step 4: Review Material Handling and Traceability
Check how raw material is received and stored. Is it segregated by lot? Are the material certificates displayed near the receiving area? Raw material is the foundation of your part. If the material is the wrong grade, or if it has inconsistent properties, your part will not perform as expected. The supplier must be able to prove which lot of material went into which batch of parts.
Walk to the press and ask the operator to pull the material lot number for the current run. Then ask for the corresponding material certificate. If the supplier cannot link the material lot to the finished part, traceability is weak. This is a common mistake. Many suppliers keep material in big coils and do not track the specific sheets used for a specific job. If a quality issue arises, you will not be able to determine if the material was the cause.
The reason for this step is to confirm that the supplier can identify the exact material used in a specific part. This is critical if a quality issue arises. You need to know which lot of sheet steel caused a failure. Traceability allows you to quarantine other parts made from the same lot. It also allows you to negotiate with the material supplier if the material is defective. Without traceability, you are flying blind.
Step 5: Evaluate Capacity and Scheduling
Ask the supplier how they allocate press time. Is the press dedicated to your part, or is it shared with other customers? If shared, ask how changes are managed. A shared press is a risk factor. If another customer’s part requires a die change, your production may be delayed. You need to know if the supplier has the flexibility to accommodate your schedule.
Look at the scheduling board or digital system. Ask how they handle a rush order. Can they add shifts? Do they have backup presses? If the supplier is running at full capacity, a change in your part design or a delay in material delivery can cause a domino effect. You want a supplier that has some buffer in its schedule.
The reason for this step is to understand the risk of delay. A press that is 90 percent use may not have room for a change in your part design. A supplier with dedicated capacity can respond faster to engineering changes. You are looking for a supplier that has the resources to handle your volume without compromising their ability to serve other customers. This also indicates that the supplier has a stable business. They are not scrambling to fill every minute of press time with low-margin jobs.
Step 6: Observe Operator Interaction and Documentation
Watch the operators. Do they have access to work instructions? Are the instructions up to date? Operators are the ones who actually run the presses. If they do not have clear instructions, they will make assumptions. Those assumptions can lead to defects.
Ask an operator to show you the inspection record for the last shift. Is it filled out by hand or entered digitally? If by hand, is it legible and complete? If digitally, is it easy to retrieve? The quality of the documentation reflects the quality of the process. If the operator is struggling to find the work instruction or if the inspection record is messy, there is a problem with the system.
The reason for this step is to assess the supplier’s quality culture. A disciplined operator who follows instructions and records data reliably is a better indicator of quality than a single inspection report. You are looking for a supplier that has a culture of discipline. They train their operators, they keep their records straight, and they take their work seriously.
Step 7: Check Scrap and Rework Handling
Walk to the scrap area. Look at the scrap. Is it sorted by type? Is there a rework station? Scrap is a sign of failure. How the supplier handles scrap tells you how they handle failure. If the scrap is mixed together, it is hard to analyze. If there is no rework station, the supplier may be discarding parts that could be saved.
Ask how the supplier handles defective parts. Do they discard them, rework them, or return them to the material supplier? If they rework parts, what is the limit on rework? Some defects can be fixed. A small burr can be ground down. A bent part can be straightened. But if a part is reworked too many times, it may not meet the original specifications. The supplier needs a clear policy on rework.
The reason for this step is to understand the cost of failure. If the supplier reworks parts repeatedly, the cost may be higher than expected. If they discard scrap without analysis, they may repeat the same defect. You want a supplier that analyzes scrap to find the root cause. They should be able to tell you why a part failed and what they did to prevent it from happening again.
Common Mistakes in Press Floor Audits
Engineers often make mistakes during audits. Here are the most common ones.
| Mistake | Why It Happens | How to Avoid It |
|---|---|---|
| Trusting the supplier’s brochure | Brochures show the best-case scenario | Walk the floor and check nameplates yourself |
| Ignoring tooling condition | Tooling is expensive and hidden | Inspect the tooling room and maintenance logs |
| Relying on final inspection | Final inspection catches too many defects | Check in-process inspection points |
| Skipping material traceability | Traceability is administrative | Verify lot numbers and certificates on site |
| Overlooking operator discipline | Operators know the real process | Watch operators and ask for records |
Final Verification Step
After the audit, do not sign the contract immediately. Ask the supplier to produce a sample part from the press you just inspected. Then run a small trial batch of 50 to 100 parts.
Measure the trial batch against your drawings. Check for dimensional variation, surface finish, and edge quality. Compare the results to your specifications. The trial batch is the ultimate test. It shows you if the supplier can deliver what the audit showed. A press may be capable in theory, but the operator may not execute the process correctly. The trial batch proves the capability in practice.
This step also helps you identify any issues that were not visible during the audit. For example, the press may be capable, but the die may need a specific setup that the operator does not always perform. The trial batch forces the supplier to prove that they can consistently produce the part, not just once.
Conclusion
A press floor audit is not a formality. It is a practical check that protects your product quality and delivery schedule. By verifying press tonnage, tooling storage, in-process inspection, material traceability, capacity, and operator discipline, you can make a informed decision about vendor qualification.
Bring your drawings. Bring your team. Walk the floor. Ask for records. Watch the operators. Then run a trial batch. If the supplier passes these checks, you have a strong foundation for a long-term stamping service relationship. If not, keep looking. The right supplier will not mind showing you their floor.
Frequently asked questions
Do I need to visit the supplier's facility in person?
In many cases, yes. A virtual tour can give a general idea, but it cannot show you the condition of the presses or the discipline of the operators. An in-person audit is the standard for critical parts.
How long does a press floor audit take?
A full audit typically takes a half day to a full day. It depends on the complexity of your part and the number of stations on the press. Allow time for the trial batch if you want to verify capability.
What if the supplier refuses to show me the tooling room?
That is a red flag. A reputable supplier should be open about tooling storage and maintenance. If they refuse, they may be hiding a poor quality system or a lack of investment in tooling care.
Can I trust the supplier's quality reports?
You should not trust them blindly. Verify the reports by checking the inspection records on the floor. Ask to see the raw data, not just the summary. The raw data tells you what was actually measured.
What should I do if the trial batch fails?
Do not sign the contract. Ask the supplier to identify the root cause. If they cannot fix the issue, find another supplier. A supplier that cannot meet your specifications on a small trial will not meet them on a large production run.