Buyer's Guide: Selecting Stamping Tooling for Long Production
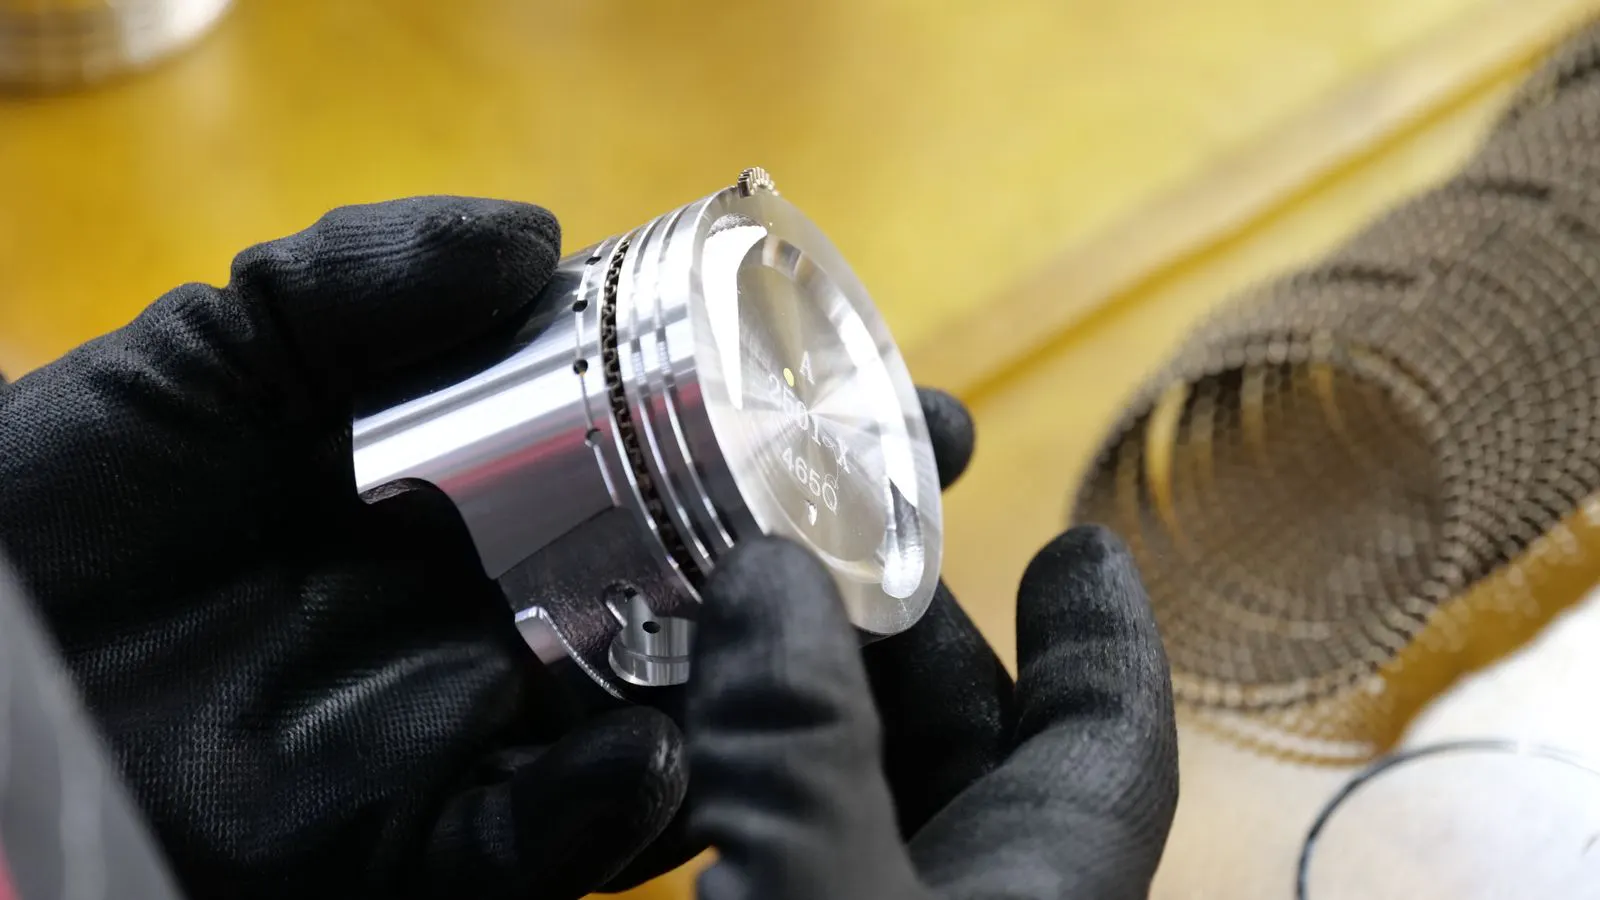
Selecting stamping tooling requires balancing initial investment against long-term performance. A buyer should evaluate die life, material hardness, and production volume to ensure the tooling meets production targets. This guide outlines criteria for choosing durable, cost-effective stamping tools.
- Match tooling material and design to the expected production volume and part complexity.
- Prioritize die life over initial cost when running long production cycles.
- Use clear criteria to compare tooling options before committing to a purchase.
- Include maintenance and wear testing in the selection process.
- Review the tooling cost against unit pricing to protect margins.
Why Die Life Drives Tooling Selection
Die life determines how long a stamping tool operates before maintenance, repair, or replacement becomes necessary. A die that lasts longer reduces changeover time, avoids production downtime, and lowers the effective cost per part. Buyers often focus on the initial tooling cost, but this approach ignores the total cost of ownership. A slightly more expensive die built for high endurance can outperform a cheaper option over several years.
Consider a automotive bracket stamped from mild steel. If the die wears out after one million cycles and the production line stops for a week to install a new tool, the cost of that downtime alone can exceed the price difference between two dies. In contrast, a die designed for two million cycles might cost more upfront but keeps the line running continuously. The savings come from stability and reduced labor hours spent on tool maintenance.
The selection process starts with the part and the production plan. The metal type, thickness, and desired finish all affect how the tooling wears. A buyer must match these requirements with the right die design and materials. This section covers the main criteria for choosing stamping tooling that supports long production runs.
Define the Production Volume and Part Complexity
Production volume is the primary factor in die life planning. A part that requires a few thousand units may use a simpler tool design. A part that requires millions of units needs tooling built for sustained performance. The buyer should define the expected run length before discussing tooling options with suppliers.
For example, a prototype run of five hundred units might justify a standard die made from medium-carbon steel. However, a production run of ten million units requires tooling that can withstand repeated impact without losing tolerance. The difference in steel grade and heat treatment between these two scenarios can be significant.
Part complexity also changes the selection. A simple flat part may use a basic press tool. A complex part with multiple features may require a progressive die or a transfer die. The more features the die performs in a single stroke, the more stress each component experiences. This stress increases wear on punches and dies.
Take a progressive die for a small fastener. It performs blanking, piercing, and forming in one stroke. Each operation adds stress to the same tool set. If the die is not designed to handle these combined loads, the punch edges will wear quickly, causing burrs and part rejection. A buyer must clearly define the sequence of operations to ensure the die structure supports each step.
The production plan should include the expected number of cycles per day, the number of shifts, and the target lifespan. These numbers help the tooling designer select the right steel, hardening process, and support structure. A buyer who provides clear volume data gets a more realistic tooling design.
If a plant runs three shifts at two hundred thousand cycles per day, the die must be rated for that load. A die designed for a single shift will overheat or wear prematurely when run continuously. The designer needs to know the press speed, the material thickness, and the frequency of die changes. This information allows for the correct selection of lubrication systems and cooling features.
Evaluate Tooling Material and Hardness
The material and hardness of the die components directly influence die life. Tool steel selection depends on the part material and the wear mechanism. A die that stamps soft steel may wear differently than a die that stamps high-strength steel or stainless.
For instance, a die used for low-carbon steel sheet may experience less abrasive wear than a die used for hardened stainless steel. The latter requires a harder tool face to resist galling and adhesion. The choice of steel grade must match the severity of the stamping environment.
Punches and die faces experience different wear patterns. Punches often suffer from edge wear and galling. Die faces suffer from friction and impact damage. The hardness level must be high enough to resist wear, but not so high that it becomes brittle. A brittle component can crack under impact.
A common mistake is selecting a die with maximum hardness for all applications. While high hardness resists wear, it reduces shock resistance. If the die strikes a hard edge or a defect in the material, a brittle punch may shatter. A balanced hardness level, often achieved through specific heat treatment, provides both wear resistance and toughness.
The buyer should ask about the hardening process. Surface hardening, through-hardening, and nitriding each offer different trade-offs. Surface hardening provides a tough core with a hard outer layer. Through-hardening increases uniform wear resistance. Nitriding can improve toughness for applications with high impact loads.
For example, nitriding is often used for dies that stamp high-strength steel at high speeds. The process increases surface hardness without deepening the layer, which preserves the core toughness. This combination helps the die survive the high impact forces generated by the press.
Consider the Die Design and Support Structure
The die design shapes how forces move through the tool. A well-designed die spreads impact loads evenly across the components. A poorly designed die concentrates stress at the edges or corners. This concentration accelerates wear and can cause early failure.
Look at a punch with a small radius. If the radius is too small, the stress concentrates at the edge during stamping. This leads to rapid edge wear. Increasing the radius distributes the force over a larger area, extending the life of the punch. The designer must balance the desired part geometry with the structural integrity of the die.
Support structure matters. The die holds, the backer plate, and the die set all contribute to rigidity. A rigid setup reduces vibration during the stamping stroke. Vibration causes fatigue in the tool components. For high-speed presses, the support structure must be stiff enough to limit deflection.
If the die set is not aligned correctly with the press ram, the loads become uneven. One side of the die may take more stress than the other. This imbalance leads to uneven wear and can cause the die to twist or crack. The buyer should verify that the die set fits the specific press model and that the alignment is checked during installation.
The buyer should review the die drawing and the support plan. Look for features that reduce stress. These include generous fillets, balanced punch loading, and proper clearance between moving parts. The design should match the press type and the expected cycle rate.
For example, a die for a high-speed transfer press needs a stronger support structure than a die for a slow, single-stroke press. The support components must be thick enough to handle the rapid loading and unloading. The drawing should specify the material and dimensions of these supports to ensure they meet the performance requirements.
Compare Tooling Cost Against Unit Pricing
Tooling cost is a capital investment. It must be recovered over the production run. A buyer should calculate the amortized tooling cost per part. This calculation includes the die price, maintenance, and any expected repairs. It does not include the press cost, which is usually separate.
The initial cost of the die varies by complexity. A simple die costs less than a complex progressive die. The difference is often larger than expected. A buyer should request a detailed cost breakdown. This breakdown should list each major component, such as the punch, die, and base.
When comparing options, the buyer should look at the cost per part over the expected life. A higher initial cost may be justified if it reduces wear and maintenance. This approach aligns tooling selection with production efficiency. The buyer should also consider the cost of downtime. A die that fails early stops the line. That cost can exceed the cost of a longer-lasting die.
Consider two dies for the same part. Die A costs $5,000 and lasts for one million cycles. Die B costs $8,000 and lasts for two million cycles. If the part is produced at a rate of one million cycles per year, Die A requires replacement every year. Die B lasts for two years. Over two years, Die A costs $10,000 plus maintenance, while Die B costs $8,000. Die B is the better investment despite the higher upfront price.
The amortized cost calculation should include the cost of labor for maintenance and any potential scrap from part defects. A die that wears quickly may produce parts with burrs or incorrect dimensions, leading to scrap and rework. These hidden costs can make a cheaper die more expensive in the long run.
Review Maintenance and Wear Testing
Maintenance access affects die life. A die that is difficult to inspect or repair will suffer from longer downtime. The buyer should ask about access points for the punches and die faces. The design should allow easy removal and inspection.
For example, a die with punches that require special tools to remove will take longer to maintain. A die with quick-release mechanisms can be serviced in minutes. This speed reduces downtime and allows for more frequent inspections. The buyer should request a maintenance manual that outlines the inspection schedule and the tools required.
Wear testing helps confirm the expected die life. The supplier should be able to provide information on the expected number of cycles based on the material and hardness. The buyer can use this information to plan maintenance intervals.
If the supplier provides wear data, the buyer can set up a monitoring system to track the die condition. This might involve measuring the punch edge wear after every few thousand cycles. If the wear exceeds a certain limit, the die can be re-sharpened or replaced before it causes part defects.
The buyer should also consider the tooling supplier’s support. A good supplier will provide wear data and maintenance recommendations. This support helps the buyer extend die life through proper care. The buyer should ask about the warranty and repair process.
A clear warranty should specify the number of cycles covered and the conditions under which the warranty applies. If the die fails within the warranty period, the supplier should repair or replace it at no cost. This protection reduces the financial risk of the investment.
Criteria for Selecting Stamping Tooling
The table below summarizes the main criteria for selecting stamping tooling. Each criterion helps the buyer evaluate options and make a decision.
| Criterion | What to look for | Why it matters |
|---|---|---|
| Die life | Expected cycle count and wear data | Determines maintenance intervals and replacement costs. |
| Tooling cost | Initial price and amortized cost per part | Affects unit pricing and margin. |
| Production volume | Matched to expected run length | Ensures the die is not over- or under-built. |
| Material hardness | Appropriate steel and hardening for the part | Controls wear resistance and impact strength. |
| Design and support | Balanced loading and rigid support | Reduces stress and vibration during stamping. |
| Maintenance access | Easy inspection and repair points | Minimizes downtime during die service. |
Decision Checklist for Buyers
Before finalizing a tooling purchase, use this checklist to confirm the selection.
- Confirm the expected production volume and run length.
- Match the die design to the part complexity.
- Select the tooling material and hardness based on wear mechanisms.
- Review the die drawing for balanced loading and support structure.
- Calculate the amortized tooling cost per part.
- Ask for wear data and maintenance recommendations.
- Confirm the warranty and repair process.
- Check the lead time for the die and any tooling changes.
Selecting stamping tooling is a process that connects the part, the production plan, and the tool design. The buyer who focuses on die life and production efficiency will make a better choice than the buyer who focuses only on the initial price. Use the criteria and checklist above to evaluate options and make a decision.
Frequently asked questions
How does die life affect unit pricing?
A longer die life spreads the tooling cost over more parts. This reduces the amortized cost per part and improves unit pricing.
What is the difference between a simple die and a progressive die?
A simple die performs one operation per stroke. A progressive die performs multiple operations in one stroke. Progressive dies are more complex and typically cost more.
How should production volume influence tooling selection?
Higher production volumes require tooling with higher die life and more robust support. Lower volumes may use simpler, less expensive designs.
What materials are common for stamping dies?
Tool steels are common. The specific material and hardening process depend on the part material and the expected wear.
How can a buyer extend die life?
Proper maintenance, correct setup, and using the right material for the part all extend die life. Regular inspection helps catch wear early.