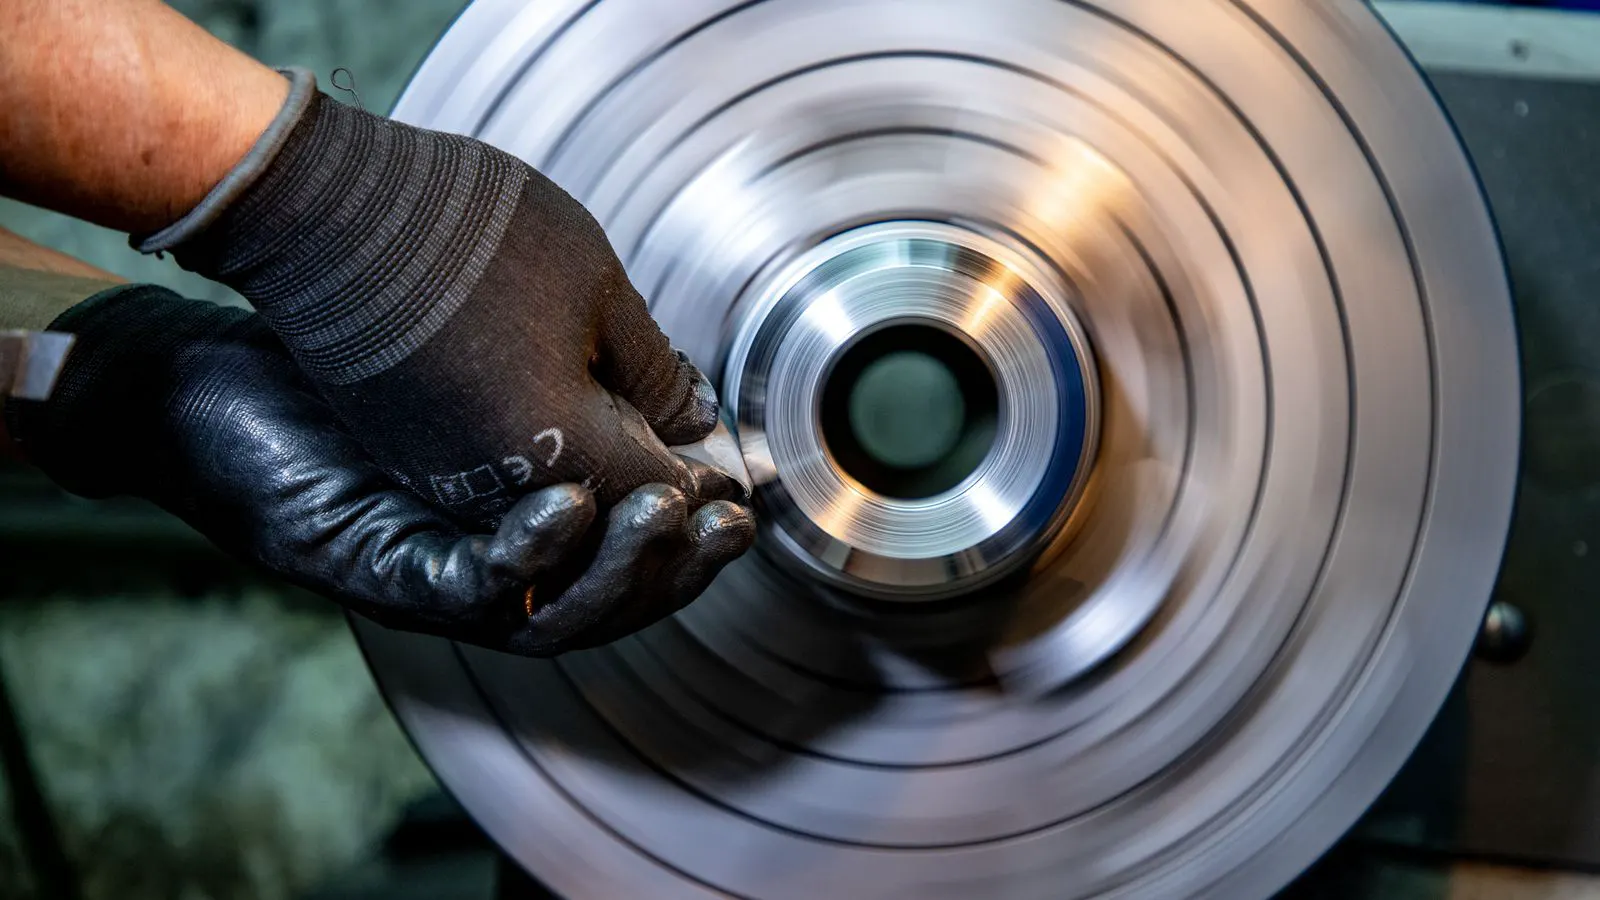
How to Reduce Scrap in High-Volume Progressive Stamping

To reduce scrap in stamping, you must align progressive die efficiency with rigorous process control. This article outlines six numbered steps to minimize material waste, focusing on lubrication, die maintenance, and feed system calibration for high-speed runs.
- Progressive die efficiency depends on tight tolerances between punch and die.
- Lubrication consistency is critical to prevent part sticking and material tearing.
- Regular inspection of the feed system prevents misfeeds that lead to scrap.
High-volume progressive stamping is a race against time. When running thousands of parts per hour, even a small percentage of scrap can significantly impact your bottom line. The goal is to reduce scrap in stamping by addressing the mechanical, material, and operational factors that cause defects. This guide provides a step-by-step approach to improving your process and achieving better yields.
How to Assess Your Current Scrap Baseline
Before implementing new techniques, you need a clear understanding of where you are losing parts. Many manufacturers track scrap by total count, but this hides the root causes. You need to categorize scrap by defect type, such as tearing, misfeeds, burrs, or dimensional inaccuracy.
Take a sample of discarded parts from your production line over a full shift. Analyze each part to determine the specific failure mode. If 60% of your scrap is due to tearing, your focus should be on material properties and die sharpness. If misfeeds dominate, your attention should shift to the feed system.
This baseline data serves as your control point. Without it, it is impossible to measure the effectiveness of the scrap reduction techniques you will implement. Keep this data in a simple log or spreadsheet, noting the date, shift, and defect type.
Step 1: Verify Material Consistency and Quality
Material variability is a leading cause of scrap in high-speed production. Even within a single coil of steel, there can be variations in thickness, hardness, and surface finish. When these variations occur, the progressive die may not form parts correctly, leading to tears or dimensional shifts.
Always verify the material lot before starting a long run. Check the mill certificate for thickness tolerances and hardness levels. If you are using a thin-gauge sheet, even a minor deviation in thickness can cause the punch to bind or the material to tear during the bending operation.
Consider working with your material supplier to ensure consistent quality across batches. If possible, stockpile material for a specific production run to maintain uniformity. This reduces the risk of mid-run defects and helps maintain progressive die efficiency.
Step 2: Optimize Die Lubrication
Proper lubrication is essential for smooth part release and to prevent material tearing. In high-volume stamping, friction between the punch and the die generates heat, which can harden the material and cause defects. Inadequate lubrication leads to sticking, while excessive lubrication can contaminate the part or cause safety hazards.
Use a consistent lubrication method that matches your material and die geometry. For thin-gauge sheet, an oil-based lubricant is often effective because it penetrates the material easily. For thicker sections, a wax or paste lubricant may provide better release.
Apply lubricant evenly to the punch and die. Avoid pooling, which can cause parts to slide incorrectly in the progressive die. Monitor the lubricant level during the run and top up as needed. A dry die will wear faster and produce more burrs.
Step 3: Calibrate the Feed System
The feed system controls the movement of the sheet metal through the progressive die. If the feed is inconsistent, parts can be misaligned, causing punches to miss or bind. This is a common cause of scrap in high-speed production.
Check the feed rollers or grippers for wear and alignment. The feed must be precise enough to move the sheet by the exact pitch of the die. If the feed is off by even a small amount, the next punch may hit a previously formed feature, causing damage.
Adjust the feed pressure to match the material thickness. Too much pressure can mar the surface, while too little can cause the sheet to slip. Test the feed system with a short run and inspect the parts for alignment issues before starting full production.
Step 4: Monitor Die Sharpness and Wear
Progressive dies are precision tools, and their performance degrades over time. Worn punches and dies create burrs and tears in the material. Sharp edges are critical for clean cuts, especially in high-volume runs where the die is working under constant stress.
Inspect the die regularly for wear. Look for rounding on the punch edges and wear on the die land. If you notice increased burrs or tearing, it is time to re-sharpen or replace the components. Do not wait for a complete failure, as this can lead to a large amount of scrap.
Consider using a die inspection schedule based on production hours. For example, inspect the die every 5,000 parts. Keep spare punches and die components on hand to minimize downtime when maintenance is required.
Step 5: Control Environmental Factors
Environmental conditions can affect both the material and the die. Temperature and humidity can influence the behavior of the sheet metal, especially in thin gauges. High humidity can cause rust or oxidation on the surface, which can lead to sticking and tearing.
Maintain a stable temperature in the production area. If the material is too cold, it becomes brittle and more likely to tear. If it is too warm, it may be too soft to hold its shape. Aim for a moderate temperature range that suits your material.
Control humidity in the warehouse where the material is stored. Keep coils in a dry environment to prevent surface rust. A clean and dry production area also helps maintain the integrity of the die and the lubricant.
Step 6: Implement Real-Time Quality Checks
Relying on end-of-shift inspection is too late to prevent scrap. You need a system that catches defects as they happen. This allows you to adjust the process immediately and stop the production of bad parts.
Set up visual inspection points at the exit of the progressive die. Train operators to check for specific defects, such as tears, misfeeds, or burrs. Use a simple checklist to guide their inspection.
Consider implementing an automated inspection system if your budget allows. Cameras and sensors can detect defects in real-time and trigger a stop signal when a problem is found. This significantly reduces the amount of scrap produced during a shift.
Common Mistakes to Avoid
- Ignoring Minor Defects: Small burrs or tears may seem acceptable, but they can accumulate and lead to larger problems. Address them immediately to maintain high quality.
- Inconsistent Lubrication: Applying lubricant only at the start of a shift is not enough. Monitor and top up throughout the run.
- Neglecting Die Maintenance: Waiting for a die to fail before servicing it leads to downtime and scrap. Preventive maintenance is key.
- Not Tracking Scrap Data: Without a baseline, you cannot measure improvement. Keep detailed records of scrap types and causes.
- Overlooking Material Quality: Assuming all material is identical can lead to unexpected defects. Always verify lot specifications.
Final Verification: Confirming Scrap Reduction
After implementing the steps above, you must verify that your scrap reduction techniques are working. Compare your new scrap data to your baseline. You should see a decrease in the total scrap rate and a reduction in specific defect types.
Run a full production shift and record the number of good parts and scrap parts. Calculate the scrap rate and compare it to your target. If the rate is still too high, review your process and identify any remaining issues.
This verification step is crucial. It ensures that your changes are effective and sustainable. Continue to monitor your process and make adjustments as needed. By reducing scrap in stamping, you improve your progressive die efficiency and increase your overall profitability.
Table: Scrap Defect Causes and Solutions
| Defect Type | Common Cause | Solution |
|---|---|---|
| Tearing | Material too hard or thin | Verify material specs; adjust die sharpness |
| Misfeeds | Feed system misalignment | Calibrate feed rollers; check gripper pressure |
| Burrs | Worn die edges | Re-sharpen or replace die components |
| Sticking | Inadequate lubrication | Apply consistent lubricant; check die condition |
| Dimensional Error | Temperature variation | Control production environment |
Conclusion
Reducing scrap in stamping is a continuous process that requires attention to detail and a data-driven approach. By following the steps outlined in this guide, you can significantly improve your yields and reduce waste. Focus on material consistency, die maintenance, and process control to achieve sustainable results.
Frequently asked questions
How often should I inspect my progressive die?
Inspect your die at least every 5,000 parts or according to your specific production schedule. More frequent inspections may be needed for thin-gauge materials or high-speed runs.
What is the best lubricant for high-volume stamping?
The best lubricant depends on the material and die geometry. Oil-based lubricants are often effective for thin-gauge sheet, while wax or paste lubricants may work better for thicker sections.
Can I reduce scrap by using a different material?
Yes, if the current material is prone to tearing or inconsistency, switching to a higher-quality material may help. However, this should be done after analyzing the root cause of your defects.
How do I know if my feed system is misaligned?
Look for parts that are consistently shifted to one side or show signs of binding. Adjust the feed rollers and grippers to ensure precise movement through the die.
Is automated inspection worth the investment?
For high-volume production, automated inspection can be very cost-effective. It reduces labor costs and catches defects in real-time, preventing large amounts of scrap.