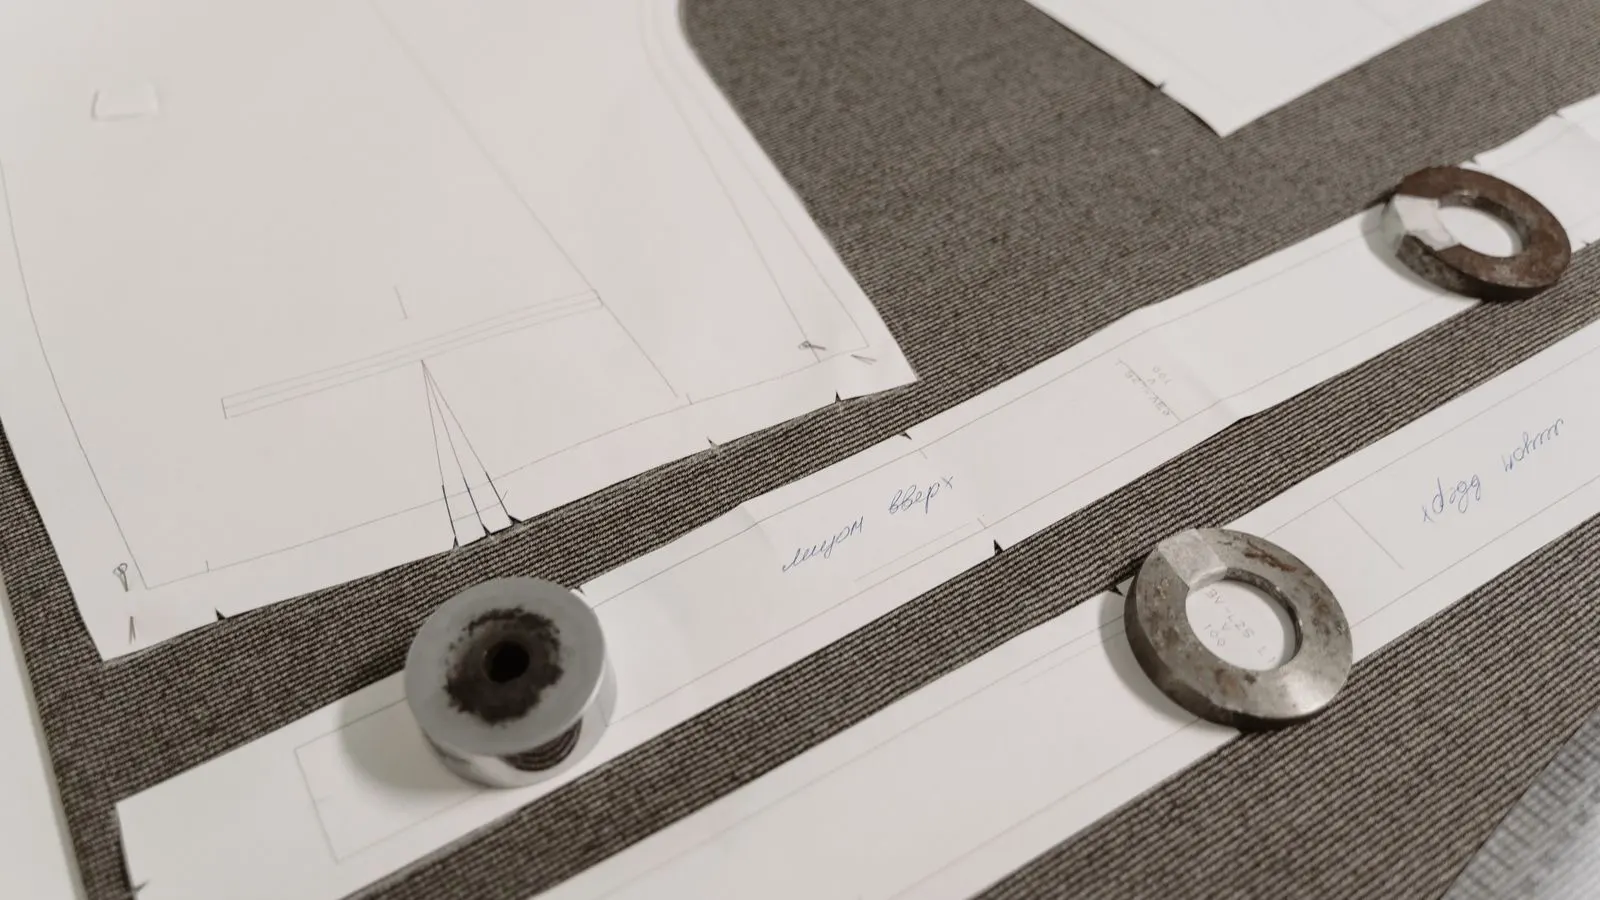
Single Step vs Multi Step Die: A Comparison
Single step dies create one feature per hit, while multi step dies build complex parts in one pass. The right choice depends on part geometry, material thickness, and required production volume.
- Single step dies are simpler to build and maintain but require multiple presses or longer cycle times.
- Multi step dies reduce handling and improve throughput for complex parts.
- Material thickness and feature geometry dictate the practical limits of each die design.
- Tooling cost and maintenance access often tip the decision more than raw speed.
Why Die Design Drives Part Cost
The choice between single step and multi step die design determines how many operations a part needs before it leaves the press. A single step die performs one function per stroke. A multi step die performs several functions in one stroke.
For a simple flat washer, a single step punch and die may be the only tool needed. For a stamped bracket with a formed flange, a bent tab, and a punched hole, a multi step die can handle all three features in one pass.
This difference changes cycle time, tooling cost, and maintenance complexity. It also changes how the part moves through the press and the fixture.
What Is a Single Step Die
A single step die contains one punch and one die. Each press stroke completes one operation.
Typical single step operations include:
- Straight blanking
- Notching
- Simple punching
- One bend or one flange
- One hole or one slot
In a production line, single step dies are often arranged in a line of presses. The part moves from one press to the next. Each press completes one feature.
This layout is common for high volume production of simple parts. It is also common for prototyping, where the part design is still changing.
What Is a Multi Step Die
A multi step die contains multiple punches and multiple dies in one press frame. One stroke performs two or more operations.
Common multi step configurations include:
- Punch and bend in one stroke
- Punch and trim in one stroke
- Multiple punch stations in a progressive die
- Draw and punch in a combined die
In a progressive die, the part moves from one station to the next as the die advances. This is a form of multi step tooling. The part is handled by the die itself, not by a separate operator or robot moving it between presses.
Comparison Table
| Option | Best for | Limitations |
|---|---|---|
| Single step die | Simple parts, short runs, frequent design changes | Requires multiple presses or longer cycle times, increases handling |
| Multi step die | Complex parts, high volume, tight tolerances | Higher tooling cost, harder to service, limited to one press size |
| Progressive die | Complex parts made in one continuous run | Part must fit within press stroke, tooling is expensive to design |
| Transfer die | Parts that move between stations in one frame | Requires precise part positioning, higher setup complexity |
| Combined die | Parts needing draw and punch or bend and punch in one hit | Limited to one material thickness range, requires careful punch balance |
When to Pick a Single Step Die
A single step die makes sense when the part has one or two features and the production volume is moderate.
Consider a single step die when:
- The part is a simple washer, grommet, or flat bracket
- The design is still changing and you need quick fixes
- You already have a line of presses and want to use them
- The material thickness is thin enough that multiple presses are acceptable
- Maintenance access to the tool is a priority
Single step dies are easier to inspect. You can remove the punch and die and check wear without disassembling a complex frame. You can reposition the punch if the hole is off by a small amount. You can replace a worn punch without rebuilding the whole tool.
This flexibility matters during ramp up. If the part design changes, you may only need to adjust one station. You do not need to redesign a progressive die or reprogram a transfer die.
For thin gauges, single step dies are often preferred. A 0.8 mm sheet can be handled by a single step punch and die with a light press. You can run multiple presses in series and still meet the cycle time. The part moves from press to press, but the tooling itself stays simple.
When to Pick a Multi Step Die
A multi step die makes sense when the part has several features and you need to reduce handling.
Consider a multi step die when:
- The part has a formed flange, a punched hole, and a trimmed edge
- The production volume is high enough to justify the tooling cost
- The part must be made in one continuous run to reduce cycle time
- Tolerances are tight and multiple handling steps would introduce variation
- The part is made from a medium or thick gauge that needs a single frame
A multi step die reduces the number of presses the part must pass through. For a bracket with a flange and a hole, a single step line may need two presses. A multi step die can do both in one stroke.
This reduces the chance that the part shifts between operations. It also reduces the floor space needed for the press line.
For thicker materials, multi step dies are often the only practical option. A 3 mm steel part with a formed flange and a punched hole is difficult to handle with two separate presses. The part may deform during transfer. A combined die can draw and punch in one hit, keeping the part fixed in position.
Tooling Cost and Maintenance
Single step dies cost less to build. The tooling is simpler. There are fewer components to machine, assemble, and inspect.
Multi step dies cost more. The die frame must be larger. The punch and die stations must be aligned to each other. The part must be positioned correctly for each operation.
Maintenance also differs. A single step die can be opened and serviced without disturbing the rest of the line. A multi step die may require the entire frame to be removed from the press. If one station fails, the whole tool stops.
This affects downtime. In a high volume line, downtime is expensive. A multi step die can stop the whole part stream if one punch breaks. A single step line can keep running on other presses while one station is repaired.
For a part with many features, the cost of a multi step die is often offset by the reduction in cycle time. For a part with two features, the cost may never be recovered.
Material and Geometry Constraints
Material thickness limits the type of die you can use. Thin gauges are forgiving. They can be handled by light presses and moved between stations without much loss of tolerance.
Thick gauges are not. A 6 mm steel part is stiff and heavy. Moving it between presses introduces stress. The part may spring back or shift. A multi step die keeps the part in one location.
Feature geometry also matters. A part with a deep draw and a punch hole needs a combined die. The draw must happen before the punch, or the part will not hold the hole. A single step line cannot do both in one cycle without transferring the part.
A part with a bend and a hole near the bend is also tricky. The hole must not be placed in a stress area that will crack after bending. A multi step die can control the order of operations precisely. A single step line gives more freedom but requires more handling.
Setup and Production Volume
For short runs, single step dies are usually better. The tooling cost is lower. You can reuse the dies for similar parts. You can make quick changes to the punch or die without rebuilding the frame.
For long runs, multi step dies win. The higher tooling cost is spread over more parts. The cycle time is shorter. The part moves through fewer presses.
The break even point depends on the part complexity. For a simple washer, a single step die may be cheaper for any volume. For a complex bracket, a multi step die may be cheaper even for moderate volumes.
Practical Decision Checklist
When choosing between single step and multi step die design, check the following:
- How many features does the part have?
- What is the material thickness?
- What is the required cycle time?
- How many presses are available?
- What is the tooling budget?
- How often will the part design change?
- What is the maintenance strategy?
- What are the tolerance requirements?
If the part has two or more features and the material is thick, lean toward multi step. If the part has one feature and the material is thin, lean toward single step.
The answer is rarely absolute. A part may start with a single step die for prototyping and move to a multi step die for production. The decision is a balance of cost, speed, and risk.
Common Mistakes
A common mistake is choosing a multi step die for a part that will change. The tooling is expensive and hard to modify. If the part design shifts, you may need to rebuild the die.
Another mistake is using a single step die for a thick gauge part with multiple features. The part shifts between presses. The tolerances drift. The scrap rate rises.
A third mistake is underestimating maintenance. A multi step die has more moving parts. It needs more frequent inspection. If the maintenance team is not ready for the complexity, the tool will cause more downtime than a single step line.
Final Guidance
The right die design depends on the part, not on a general rule. A single step die is simpler and more flexible. A multi step die is faster and more precise.
For simple parts and changing designs, start with single step. For complex parts and high volume production, move to multi step.
The best tooling is the one that matches the part, the material, and the production plan.
Frequently asked questions
Can a single step die make a part with multiple features?
Yes, if the part moves through multiple presses. Each press completes one feature. The die itself only does one operation.
What is the main advantage of a multi step die?
It reduces handling and cycle time by performing several operations in one press stroke.
Which die is cheaper to build?
A single step die is generally cheaper because it has fewer components and a simpler frame.
When should I use a progressive die?
Use a progressive die when the part needs multiple features in one continuous run and the part fits within the press stroke.
Can I change a single step die to a multi step die later?
Usually not directly. You would need to design and build a new die with the additional stations.