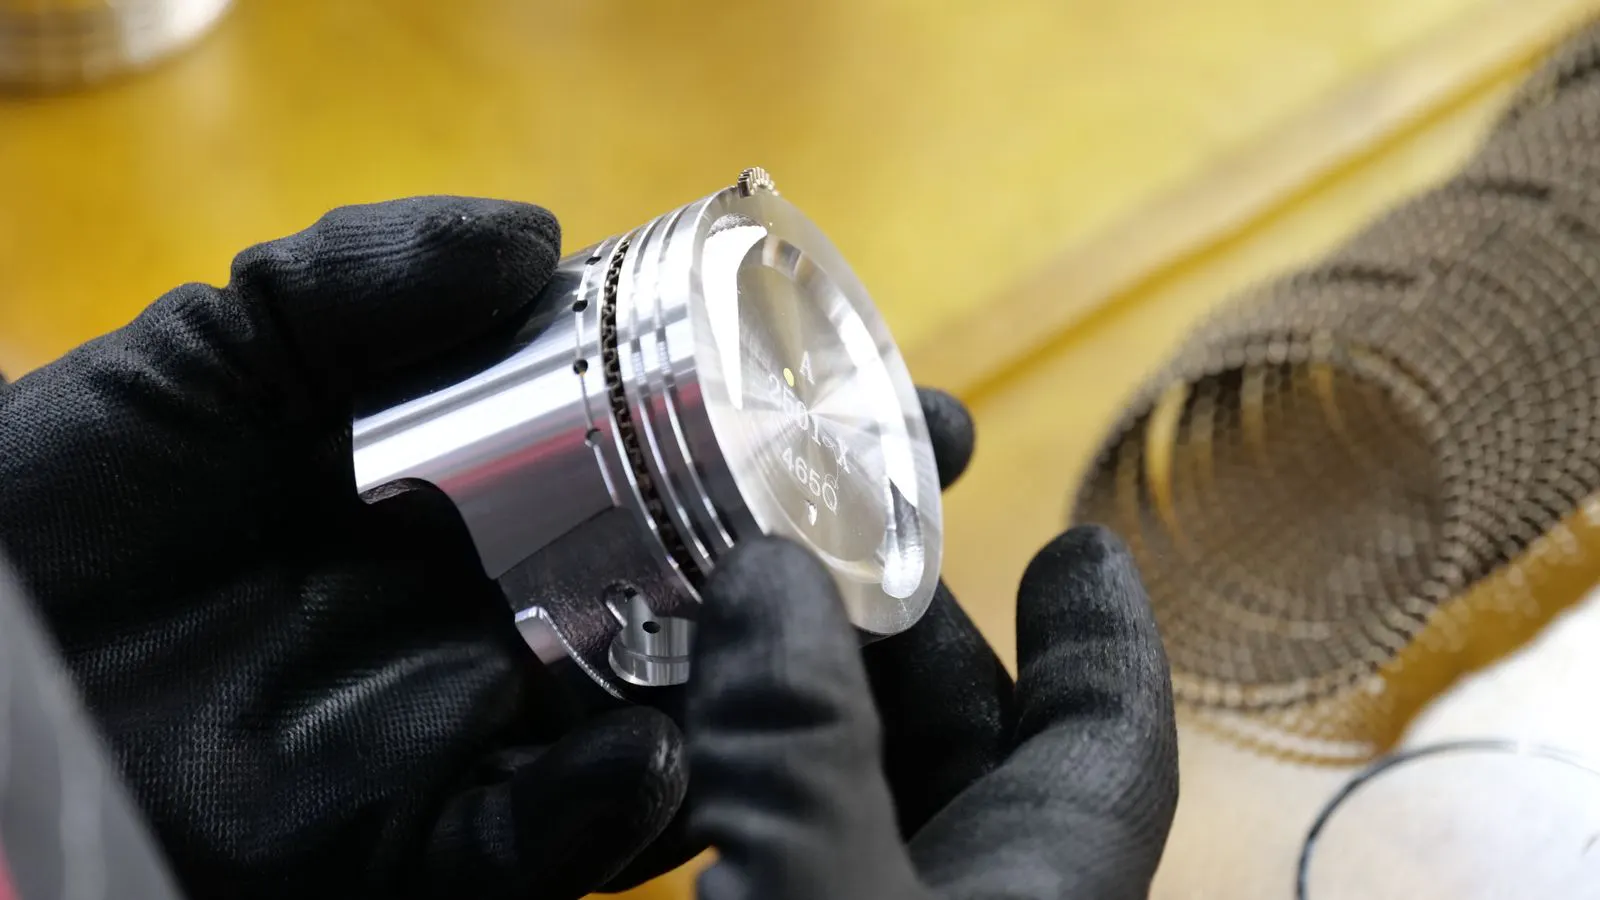
Troubleshooting: When Punch Wear Exceeds Expected Die Life
Premature punch wear causes stamp defects and lost production. This guide lists common symptoms, likely causes, and specific fixes to diagnose tooling issues and extend die life through better maintenance.
- Identify early wear patterns on punches before they damage workpiece quality.
- Match die life expectations to material hardness, thickness, and press speed.
- Track punch wear through scheduled inspections rather than waiting for visible defects.
- Use proper lubrication and lubricant compatibility to reduce friction during stamping.
- Replace or rework punch components based on measurable wear limits, not just visual appearance.
What does early punch wear look like?
Punch wear rarely announces itself with a single dramatic failure. It usually starts as subtle changes in part quality. The first sign often appears as a small burr on the cut edge. Over time, that burr grows. The cut surface becomes rougher. The part may still pass a basic inspection, but the tooling is no longer performing to spec.
A common early indicator is a change in the sound of the press. The punch may make a slightly different noise during the stroke. It may sound duller or more frictional. Operators often ignore this change because the part still looks acceptable. That is a mistake. The acoustic change usually precedes visible damage by a measurable number of cycles.
When punch wear exceeds expected die life, the cost does not only appear in scrap. It shows up in press downtime, rework, and expedited tooling repairs. A die that was built for one million parts might fail at three hundred thousand if the operating conditions changed. The tooling vendor may have estimated a certain life based on standard material and speed. If the actual production environment differs, the life changes too.
Look at the burr height and location. A burr on the top edge suggests the punch is not fully piercing the material, or the die clearance is too wide. A burr on the bottom edge often indicates the die face is worn, forcing the punch to work harder. If the burr is only on one side of the punch, the shank is likely binding.
The material type matters here. Soft metals like aluminum and copper tend to show wear through glazing or sticking. Hard metals like stainless steel or tool steel show wear through chipping and edge dulling. The failure mode changes based on the material. An operator who uses the same inspection routine for all materials will miss the specific signs required for each.
How do you diagnose the root cause of tooling failure?
The first step is to look at the failure pattern. A punch that wears on one side of the shank suggests a misalignment issue. A punch that wears evenly across the face suggests material hardness or lubrication problems. A punch that chips at the corner usually points to a striking force issue or an impact from a jammed part.
The workpiece tells a story just as clearly as the tool. If the cut edge shows a tear, the punch may be dull or the material may be too hard. If the edge shows a burr, the die may be worn or the material may be thin. If the surface shows marks, the punch face may be contaminated or the lubricant may be failing.
| Symptom | Likely cause | What to do |
|---|---|---|
| Dull edge with small burrs | Punch face wear or poor lubrication | Inspect punch face, verify lubricant type and flow, resharpen if needed |
| Chipped punch corner | Impact shock, part jam, or excessive tonnage | Check press settings, verify part feed, inspect for material inclusions |
| Uneven wear on punch shank | Die alignment or press ram misalignment | Check press alignment, inspect die base, adjust or machine the shank |
| Rough cut edge with tearing | Material too hard or punch geometry mismatch | Verify material hardness, review punch angle, consider a different die profile |
| Sticking or glazing on punch face | Incompatible lubricant or heat buildup | Change lubricant, reduce speed, improve die ventilation |
| Sudden catastrophic failure | Hidden crack, material defect, or overloading | Pull die, inspect punch and die with magnification, do not return to service until repaired |
To confirm the diagnosis, separate the variables. If the punch is dull, replace it with a new one and run the same material at the same speed. If the problem persists, the issue is not the punch. If the problem disappears, the punch was the root cause. This controlled test takes time, but it prevents chasing the wrong fix.
Check the die clearance. This is the gap between the punch and the die face. It is typically a small fraction of the material thickness. If the clearance is too wide, the material bends before it cuts, causing high friction and heat. If the clearance is too narrow, the punch hits the die face, causing chipping and cracking. Measure the clearance with a feeler gauge. Do not guess.
Also inspect the die nest. The area where the punch fits into the die plate. If the nest is worn, the punch will rock or tilt. This creates uneven loading. The punch will wear on one side. The die face will wear unevenly. Both components degrade faster than expected.
How do material properties change die life?
Material thickness and hardness are the two biggest variables that affect die life. A thin sheet may seem easy to stamp, but it can stick to the punch if the lubricant is not right. A thick sheet may require higher force, which increases wear on the punch face. Harder materials, such as spring steel or hardened tool steel, wear punches faster than mild steel.
The alloy matters too. Some alloys are gummy and tend to weld to the punch face. Others are abrasive and contain hard particles that grind against the tool. If a new material lot arrives and the die starts wearing faster, the cause may be the material itself. Check the mill certificate. Look at hardness values. Compare the new lot to the previous lot.
Thickness is critical for punch geometry. A punch designed for 1.0 mm sheet may not work well for 1.5 mm sheet. The punch angle and tip radius must match the thickness. If the thickness increases without changing the punch, the force required increases. The punch may bend or buckle. The die face may crack.
Material surface condition also affects life. A material with a rough mill finish contains surface contaminants. These contaminants get trapped between the punch and the material. They act like abrasives. They scratch the punch face. A polished or passivated surface reduces this abrasion. If the material source changes, the surface finish may change. This change may be invisible to the eye but visible under magnification.
Temperature is another factor. If the material is cold from storage, it is harder and less ductile. It requires more force. It is more likely to crack the punch. If the material is at room temperature, it is more forgiving. Keep the material at a consistent temperature. Do not stamp cold material directly from a freezer. Let it warm up to the shop temperature.
How do press settings affect punch wear?
The press does not just deliver force. It controls how that force is delivered. A press that is set too fast will increase friction and heat. A press that is set too slow may not fully close the die, leaving the part partially formed and causing uneven loading. The cushioning settings also matter. If the cushion is too stiff, the part may hit the punch with excess force. If it is too soft, the part may not be fully supported.
Check the press speed for each operation. A die that runs well at one speed may fail quickly at another. If production pressure forces a speed increase, the die life estimate changes. The tooling vendor may have quoted life based on a specific speed. If the actual speed is higher, the life will be shorter.
The stroke length and position matter. If the punch is not centered in the die, the load is uneven. The punch will bind. The shank will wear on one side. Check the die alignment. The die must be square to the press bed. A misaligned die causes the punch to twist slightly during the stroke. This twisting creates shear stress. The punch will crack or chip.
Cushion pressure is often ignored. The cushion holds the part between the punch and the die. If the cushion is set too high, it pushes the part against the punch. This increases friction. The punch rubs against the material instead of cutting through it. If the cushion is set too low, the part falls. It may hit the die face or the punch. This impact causes chipping. Adjust the cushion to match the material thickness and the part geometry.
Also check the press tonnage. The press must have enough force to cut the material. If the press is underpowered, the operator may increase the speed or force to make the cut. This overloads the die. The punch may not fully penetrate. It may stick. The die face may crack. The press tonnage should be at least 1.2 to 1.5 times the required cutting force. If the press is at the limit, the die life will be shorter.
What maintenance practices extend die life?
Scheduled inspection beats reactive repair. A punch that is inspected every one thousand parts will show wear before it causes defects. A punch that is inspected only when the part fails will have already caused scrap and downtime. The inspection should include the punch face, the punch shank, and the die face. Use a magnifying glass or a low power microscope. Look for chips, cracks, and discoloration.
Lubrication is the most common maintenance factor that operators underestimate. The lubricant must be compatible with the material and the die. Some lubricants work well on mild steel but fail on stainless. Some are too thick and clog the die. Some are too thin and evaporate at speed. The lubricant must reach the cut zone. If the die is deep, the lubricant may not flow to the bottom. Check the lubricant path. Clean the lubricant nozzles.
Clean the die regularly. Metal chips and swarf build up in the die. They get trapped between the punch and the material. They act as abrasives. They scratch the punch face. They cause sticking. Blow the die with compressed air. Use a brush to remove the chips. Do not use sharp tools. They can scratch the die face.
Check the lubricant concentration. If the lubricant is too concentrated, it is too thick. It clogs the die. It does not flow. If it is too dilute, it evaporates. It does not protect. Use a refractometer to check the concentration. Adjust it to the manufacturer’s specification.
Inspect the punch face for glazing. Glazing is a smooth, shiny layer on the punch face. It forms when the material sticks to the punch and then breaks off. It reduces friction, but it also indicates a lubrication problem. If the punch face is glazed, the lubricant is not working. Change the lubricant. Check the flow. Clean the nozzles.
How do you manage tooling amortization when die life fails early?
When die life fails early, the financial impact is not just the cost of the new die. It is the loss of production during the repair window. The tooling amortization terms in the purchase agreement become a key factor. If the die was priced for one million parts and it fails at three hundred thousand, the unit cost per part increases. The amortization schedule must account for this risk.
Review the tooling contract. Look at the warranty terms. Some vendors cover defects in workmanship for a set number of parts. If the failure is due to material or press issues, the warranty may not apply. If the failure is due to a manufacturing defect, the vendor may replace or repair the die. Keep records of the failure. Take photos. Log the part count. Document the press settings and material lot. This documentation is the basis for any claim.
Calculate the true cost per part. Include the die cost, the repair cost, the downtime cost, and the scrap cost. If the die fails early, the true cost per part is higher. This information is useful for future negotiations. It helps you price the tooling correctly. It helps you decide if a more expensive die is worth the longer life.
Negotiate a warranty based on operating conditions. If you know the material is hard and the speed is high, the warranty should reflect that. A warranty for one million parts on mild steel at low speed is different from a warranty for one million parts on stainless steel at high speed. State the assumptions clearly in the contract.
If the die fails early, do not just replace it. Investigate the cause. If the cause is known, fix it. If the cause is unknown, the next die will fail too. The cost of the new die is wasted if the root cause is not addressed.
How do you prevent die life failure in future tooling orders?
Prevention starts before the die is ordered. Share the actual material, thickness, and press speed with the tooling vendor. Do not assume the vendor can infer these details from a drawing. The drawing shows the geometry, but not the operating environment. If the material is a new alloy, provide a sample. If the press is a new model, provide the press specifications.
Request a die life estimate in writing. Ask the vendor to state the assumptions behind that estimate. If the estimate is based on a specific material and speed, state that clearly. If the production environment changes, the estimate changes. The die life is not a fixed number. It is a range that depends on operating conditions.
Specify the punch material. For most applications, a high-speed steel punch is standard. For harder materials, a carbide or cobalt steel punch may be required. For very high life requirements, a hardened and tempered punch may be needed. Specify the hardness. Specify the surface finish. A rough punch face wears faster. A polished punch face wears slower.
Specify the die material. The die face must be harder than the punch. If the die face is too soft, the punch will grind it down. If the die face is too hard, it may crack under impact. Use a hardened tool steel for the die face. Specify the heat treatment. Specify the surface finish.
Test the die before full production. Run a test run. Inspect the parts. Check the punch and die. Look for early signs of wear. If the test run shows problems, fix them before full production. This saves time and money. It prevents a full production run of bad parts.
Monitor the die life in production. Log the part count. Inspect the die regularly. If the die life is shorter than expected, investigate. If the die life is longer than expected, document the reason. This data helps you improve future tooling orders. It helps you negotiate better terms. It helps you plan for tooling replacement.
Frequently asked questions
How often should I inspect a punch for wear?
Inspect the punch at the interval recommended by the tooling vendor, or at least every one thousand parts for high-speed production. Increase frequency if the material is abrasive or the die is complex.
Can I use the same lubricant for all materials?
No. Different materials require different lubricants. Gummy alloys need a different lubricant than abrasive alloys. Check the material data sheet before changing the lubricant.
What is the most common cause of early punch failure?
Poor lubrication and incorrect press speed are the most common causes. Material hardness and thickness changes are also frequent causes of premature wear.
How do I document a die failure for a warranty claim?
Take photos of the punch and die. Log the part count at failure. Record the material lot, press speed, and any changes made to the production setup. Provide this documentation to the vendor.
Can I extend die life by reducing press speed?
Yes. Reducing press speed reduces friction and heat, which extends punch life. The trade-off is lower production rate. If production pressure requires higher speed, plan for shorter die life.