Troubleshooting Progressive Die Misalignment Issues

Progressive die misalignment causes scrap, wear, and downtime. This guide explains how to identify common symptoms, isolate the root cause through systematic die adjustment, and implement practical prevention steps to keep parts in spec.
- Progressive die misalignment usually traces to worn guides, loose components, or incorrect press tonnage rather than a single part defect.
- Always isolate the cause by checking tooling, fixtures, and press parameters before adjusting the die.
- Prevent recurring issues by establishing a consistent setup and inspection routine for every progressive die changeover.
Recognizing the Early Signs
A progressive die processes a sheet through multiple stations in a single stroke. When any station falls out of alignment, the downstream stations inherit the error. This compounds quickly. A 0.1 mm shift at the piercing station can become a 0.5 mm offset at the forming station, and that offset can push the final part out of tolerance.
The first symptom is often visual. Parts show inconsistent hole placement, uneven flange heights, or mismatched bend angles. You may also see burrs on the cut edges, or marks on the sheet that suggest the punch is not landing in the same spot every cycle. In high-speed operation, these defects appear sporadically. In low-speed or slow-down cycles, they appear consistently.
A second sign is tooling wear. If the die is misaligned, the punch and die edge do not engage evenly. You will see polished, shiny, or chipped edges on the punch. The die hole may show a crescent-shaped wear pattern. The stripper plate can show nicks where the punch or part rubs against it. These marks are not normal. They indicate friction from a part or tool that is not moving in the intended path.
A third sign is press behavior. You may notice increased noise during the stamping stroke. The press may require more tonnage than usual to complete the operation. Some presses will show a change in the hydraulic or pneumatic load pattern. If the die is binding or dragging, the press has to work harder to maintain the cycle.
Separating Die Issues from Press and Material Problems
Before you adjust the die, you need to confirm the problem is actually in the die. A progressive die is a precision assembly. It sits in a press bed. The press provides tonnage, stroke depth, and feed. The material brings thickness, hardness, and surface condition. All three interact.
If the press bed is worn, the die can sit at an angle. Even a small tilt in the bed introduces a misalignment that looks like a die fault. Check the bed surface. Look for scoring, dents, or a lack of flatness. If the bed is damaged, the die may never align correctly, no matter how carefully you adjust it.
Next, check the material. A thick or hard sheet can deflect during stamping. If the material does not hold its position, the punch can strike off-center. This is especially true in deep drawing or heavy forming stations. A thin, soft sheet can wrinkle or shift under the punch. Both conditions create the appearance of die misalignment.
Finally, review the press parameters. Stroke depth, feed rate, and tonnage all affect how the die performs. If the feed is too slow, the material may not advance properly between stations. If the feed is too fast, the material may buckle or tear. If the stroke depth is too shallow, the punch may not fully seat. If the stroke depth is too deep, the punch may bottom out and strike the die with excessive force. These settings are not static. They should be tuned for each material and part.
The Core Troubleshooting Table
The following table lists the most common symptoms of progressive die misalignment, the likely causes, and the corrective actions. Use it as a first-pass checklist. If a symptom does not match, move to the deeper diagnostic steps below.
| Symptom | Likely cause | What to do |
|---|---|---|
| Inconsistent hole placement across cycles | Worn guide pins, loose punch retention, or incorrect feed advance | Replace guide pins, tighten punch screws, and verify feed advance against the die drawing |
| Uneven flange height or bend angle | Misaligned forming punch or die, or material deflection | Check punch seating, verify forming die alignment, and adjust material thickness or press tonnage |
| Burrs or chipped edges on cut parts | Worn or misaligned punch and die, or excessive tonnage | Replace or rework the punch and die, and reduce or correct the press tonnage |
| Increased noise or binding during stamping | Binding stripper, worn slide, or die not seating flat on the bed | Lubricate the stripper, inspect the slide for wear, and check the bed for flatness |
| Sporadic defects that appear after long runs | Thermal expansion, progressive wear, or inconsistent material lot | Monitor temperature, replace worn components, and verify material lot consistency |
Corrective Steps for the Most Common Causes
Guide and Sliding Components
Guide pins, bushings, and slides are the backbone of die alignment. They keep the punch moving in a straight line and keep the die sections in the correct position relative to each other. When these wear, the die loses its precision.
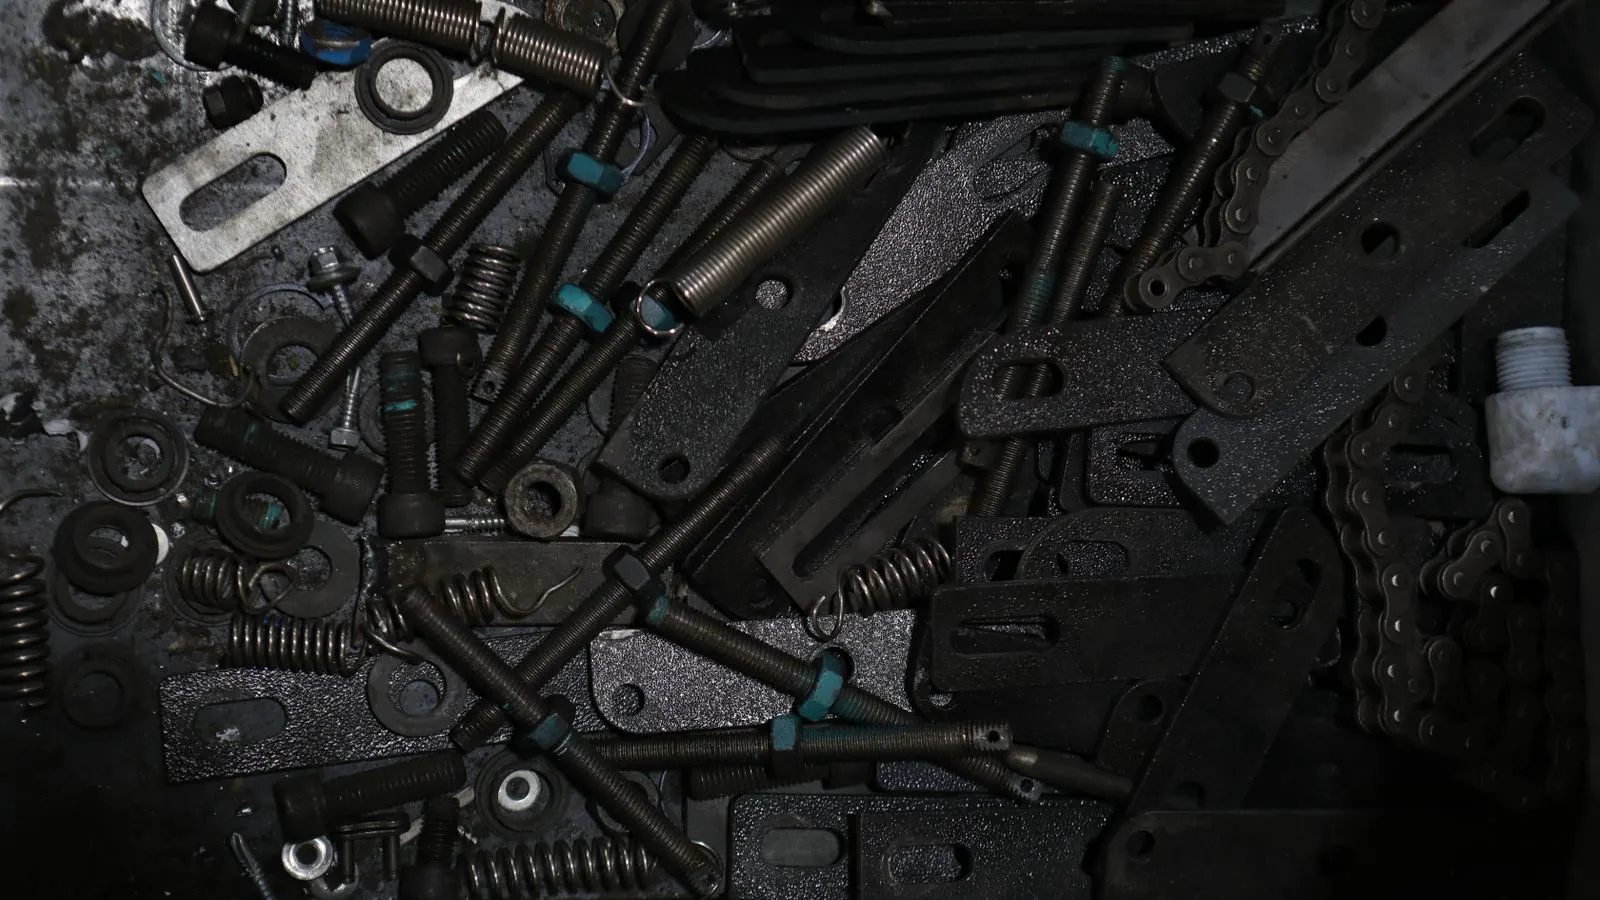
Inspect the guide pins for scoring, pitting, or a loss of roundness. If a pin has a flat spot or a worn groove, replace it. Replace the bushings at the same time. Even if the bushing looks fine, it has been working against a worn pin. The metal has transferred. Both components need to be replaced as a set.
Check the slide and any sliding die sections. These should move freely without dragging. If the slide is sticking, the die will not advance correctly. Lubricate the slide with the recommended die oil. If the slide is worn or bent, replace it. A worn slide can introduce a lateral shift of 0.05 to 0.1 mm per cycle. That is enough to throw off a tight-tolerance part.
Punch Retention and Alignment
The punch is held in the die by a screw, a pin, or a press fit. If the punch is not seated correctly, it will shift during stamping. Check the punch retention method. If it is a screw, verify the torque. If it is a pin, verify the pin is not worn or damaged. If it is a press fit, verify the punch is not loose in the die.
A loose punch will rotate slightly during the stroke. This rotation changes the cutting angle. You will see angled burrs or inconsistent hole diameter. If the punch is loose, it must be re-fitted or replaced. Do not try to “tighten” a press fit. The fit is designed to be precise. If it is loose, the die is worn.
Die Seating and Press Bed
The die must sit flat and level on the press bed. If the die is not seated correctly, the entire assembly tilts. Even a 0.01 mm tilt across a 500 mm die can produce a 0.05 mm offset at the far end.
Check the die seating. Remove the die and inspect the bottom plate. Look for burrs, chips, or uneven wear. If the bottom plate is damaged, the die will not seat flat. Machine the bed or repair the die bottom, depending on which surface is damaged.
Use a dial indicator to check the die for level. Place the indicator on a reference point on the die and rotate the die slowly. The reading should stay constant. If it varies, the die is not seating flat. Adjust the bed shims or repair the die bottom plate.
Preventing Recurring Misalignment
Correcting a misalignment is only half the job. If you do not prevent it from happening again, you will spend the same time on the same problem next week. The goal is to make the die and the press work as a stable, predictable system.
Standardize the Setup
Create a setup sheet for every progressive die. The sheet should include the press model, die number, material type and thickness, stroke depth, feed rate, tonnage, and any special notes. This sheet is not optional. It is the record of what the die needs to perform correctly.
Before you load a new die, compare the setup sheet against the die drawing. The die drawing lists the part geometry, station sequence, and critical dimensions. The setup sheet lists the press parameters. If the two do not match, the die will not perform as intended.
Inspect at the Right Intervals
Inspect the die at three points. First, at the start of a new shift or a new material lot. Second, after any change in material, thickness, or press parameters. Third, at a regular interval during production. The interval depends on the die’s criticality and the part’s tolerance. A tight-tolerance medical part may need an inspection every 100 cycles. A general-purpose bracket may need an inspection every 1,000 cycles.
The inspection should be simple. Check a sample of parts for the key dimensions. Check the punch and die edges for wear. Check the guide pins for movement. If any of these checks show a deviation, stop the die and investigate.
Monitor the Press
The press is part of the die. If the press parameters drift, the die will misalign. Monitor the press load, stroke depth, and feed rate. Most modern presses have built-in monitoring. Use it. If the press load is higher than the baseline for that die, stop and investigate. It could be a material issue, a die issue, or a press issue. You need the data to tell which.
If you do not have built-in monitoring, use a simple load cell or a visual check of the press gauge. Record the baseline load for each die. Compare every shift against that baseline. A trend upward is a warning sign.
When to Replace the Die
Sometimes the die is beyond repair. A progressive die is a precision tool. It has limits. When the wear exceeds the tolerance of the part, the die cannot be adjusted to fix the problem.
Replace the die when the part quality cannot be restored by adjustment or component replacement. This happens when the punch and die are worn beyond the material’s tolerance. It happens when the die body is cracked or bent. It happens when the guide pins and bushings have worn to a point where no amount of lubrication or replacement can restore precision.
Replacing the die is a cost. But leaving a worn die in production is a bigger cost. You pay for scrap, rework, downtime, and the risk of a catastrophic failure that can damage the press. The die has a life. Respect it.
A Final Note on Documentation
Every adjustment, repair, or replacement should be documented. Keep a maintenance log for each die. Record the date, the component replaced, the adjustment made, and the operator or technician who performed the work. This log is not a formality. It is a tool. It helps you identify trends. It helps you train new technicians. It helps you make informed decisions about when to replace the die.
A progressive die is a system. It only works when every component is in the right position and every parameter is in the right range. Treat it as a system. Document it as a system. And it will give you a long, reliable life.
Frequently asked questions
What is the most common cause of progressive die misalignment?
Worn guide pins, loose punch retention, or incorrect press parameters are the most common causes. These components control the alignment of the die and the punch during the stamping cycle.
Can material thickness affect progressive die alignment?
Yes. A thicker or harder material can deflect during stamping, causing the punch to strike off-center. A thinner, softer material can wrinkle or shift. Both conditions create the appearance of die misalignment.
How often should I inspect a progressive die for misalignment?
Inspect at the start of each shift, after any change in material or press parameters, and at a regular interval during production. The interval depends on the part's tolerance and the die's criticality.
What should I do if the press bed is worn?
If the press bed is worn, the die will not seat flat. Machine the bed or repair the die bottom plate, depending on which surface is damaged. A worn bed will introduce a misalignment that cannot be fixed by adjusting the die.
Can I adjust a progressive die to fix a worn punch and die?
No. If the punch and die are worn beyond the material's tolerance, adjustment will not restore part quality. The punch and die must be replaced or reworked.